
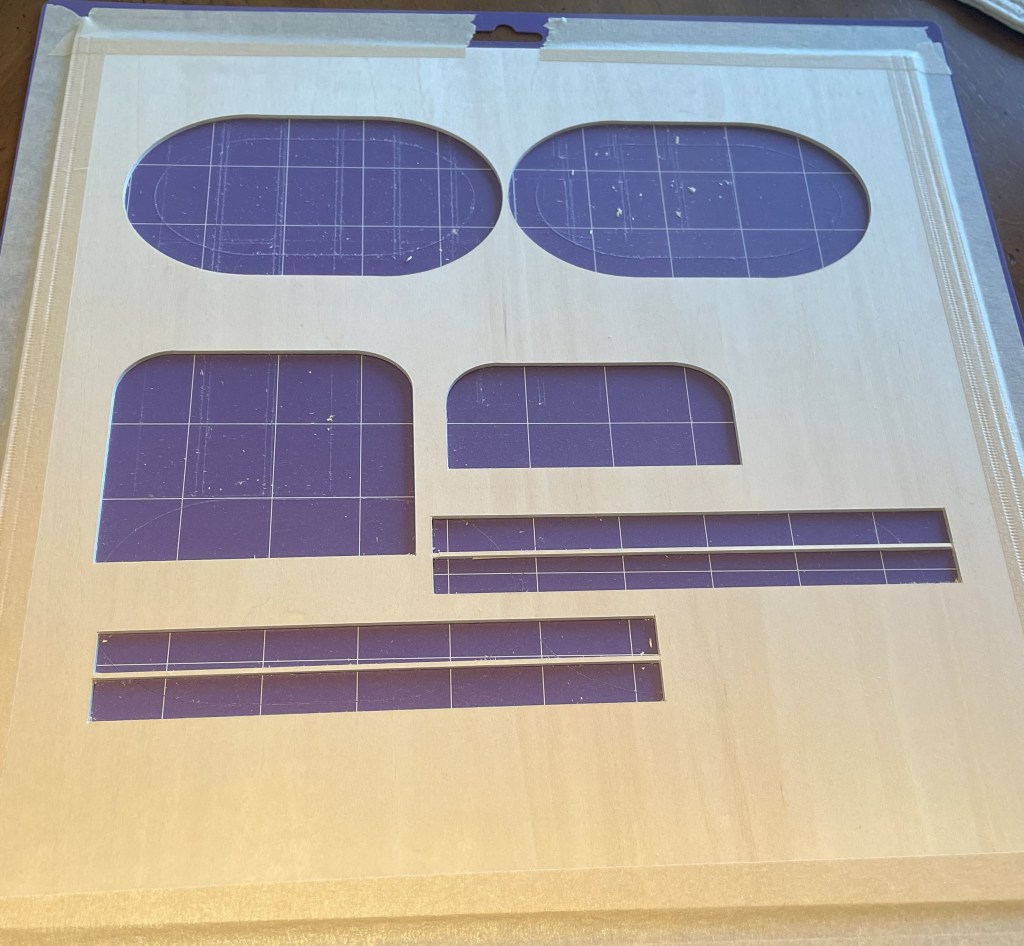
The Cricut Maker (or Maker 3) can cut 1/16 inch thick basswood sheets with the knife blade. But getting it to come out right can be a battle! Here are our tips and tricks for getting good cuts most of the time.
(Some of the links below are affiliate links, which means we will earn a small commission if you use them when making purchases on Amazon. #affiliate.)
- Keep your knife blade clean (see JenniferMaker’s tips at this link) and remember that you will need to replace your knife blades more often when you are cutting thick materials like basswood.
- Calibrate your machine every time you replace the knife blade.
- Always use a Purple StrongGrip mat.
- Press the wood down firmly onto the mat.
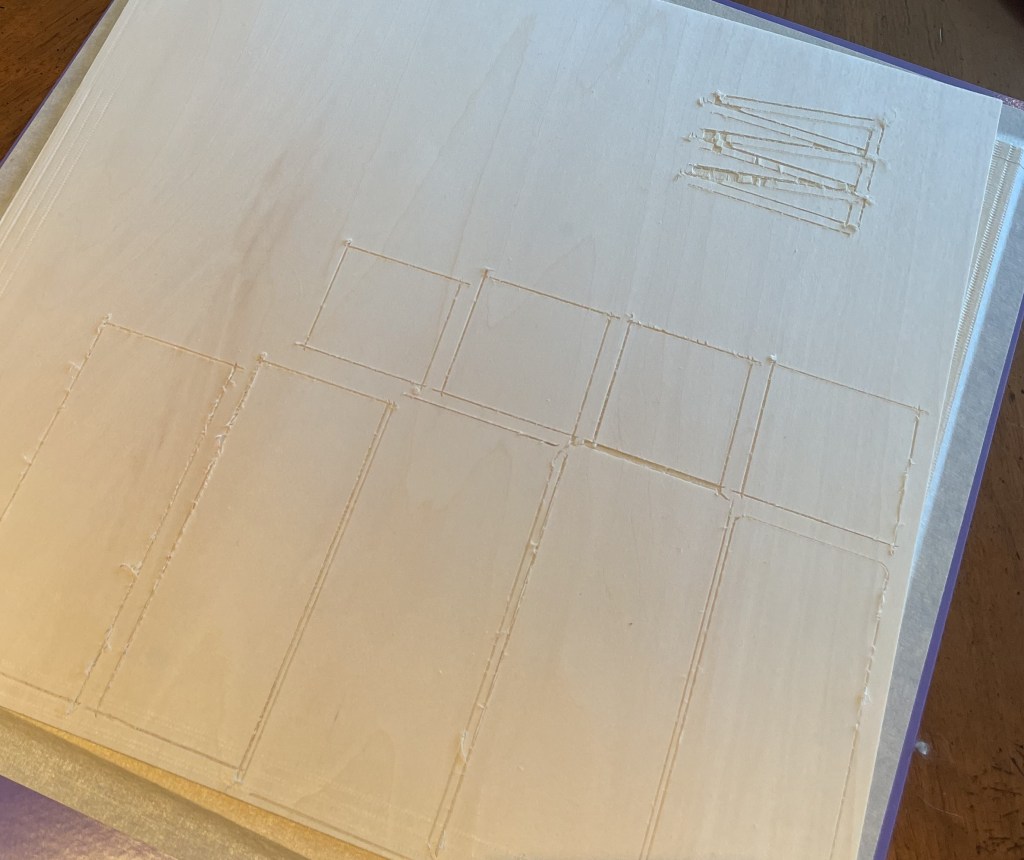
- Tape the edges of the wood with masking tape. Make sure that no pieces of stray masking tape are off the edges of the mat.
- The masking-taped edges should not be in the cut area. You can achieve this by changing how the items will print in DesignSpace, i.e., away from the edges of the wood.
- Separate the pieces in DesignSpace more than the default cutting layout.
- Move your star wheels all the way to the right, so that they do not touch the basswood sheet.
- Lift the mat up when the mat is entering the machine to minimize movement of the mat. A stiff holder like this can also help (link). Best $9 I ever spent.
- Get to know and love the “pause” button. If a broken piece of wood or tape is loose on the sheet, pause the cut to remove it. Don’t remove the mat or the machine will lose its place. Press the pause button again to restart the cut.
- For your best items, use the Cricut or Midwest Products brands of basswood sheets. Although pricier than some we use from generic Amazon sellers, the quality pays off in ease of cutting and beautiful uptake of wood stain.
Share your tips and tricks for great basswood cuts on your Cricut Maker in the comments.

Leave a comment