
I had so much fun designing this fireplace for A’s house. I wanted it to be modern with clean lines but interesting details. This was my first foray into designing a piece with an arch in Cricut Design Space, and I learned a lot in the process that has come in so handy in designing the first premium piece for our Etsy shop, which features a gorgeous arch.
(This post contains affiliate links. If you use one to purchase through Amazon, we may receive a small commission. #affiliate)
Supplies:
- Cricut Maker (link)
- Cricut knife blade (link)
- Basswood sheets 1/16 inch (link)
- 1/4 inch square dowels (link)
- Masking tape (e.g., link)
- Purple Cricut mats (link)
- Aleene’s craft glue (link)
- Paint or stain for your desired finishes
- Sandpaper or sanding sponges (link)
- Mini clamps
- Black card stock- I used some scrap card stock from packaging
- 1:12 scale bricks (e.g., link)
- Unsanded grout (link)
- Polyurethane spray (link)
- Painter’s masking tape
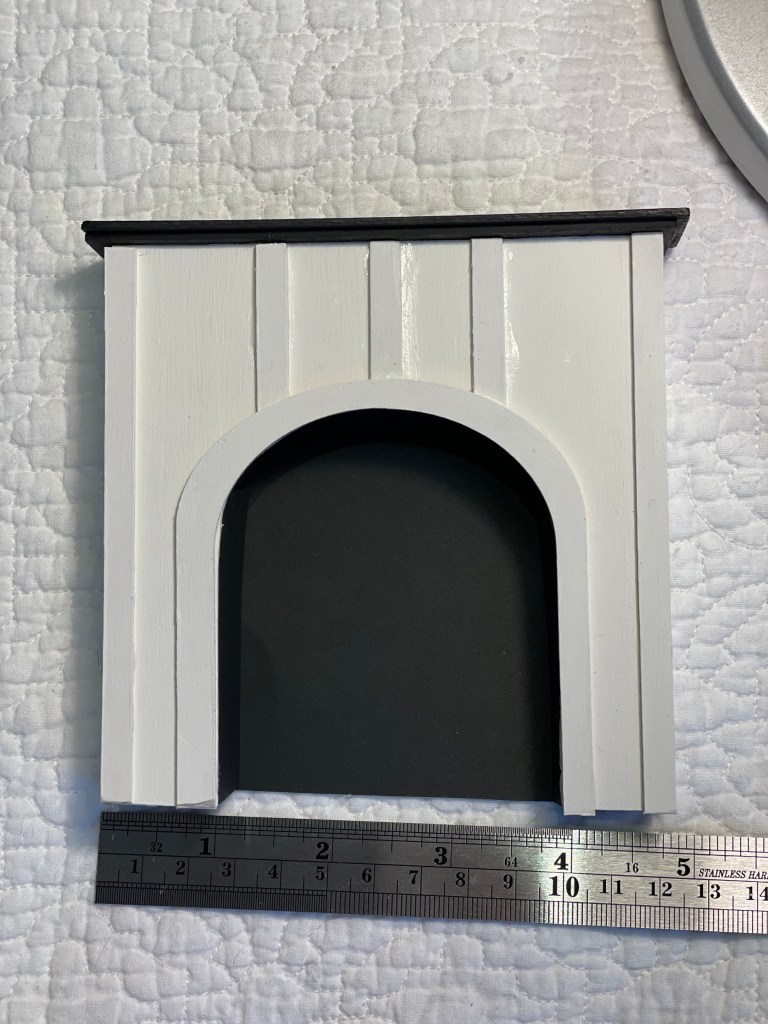
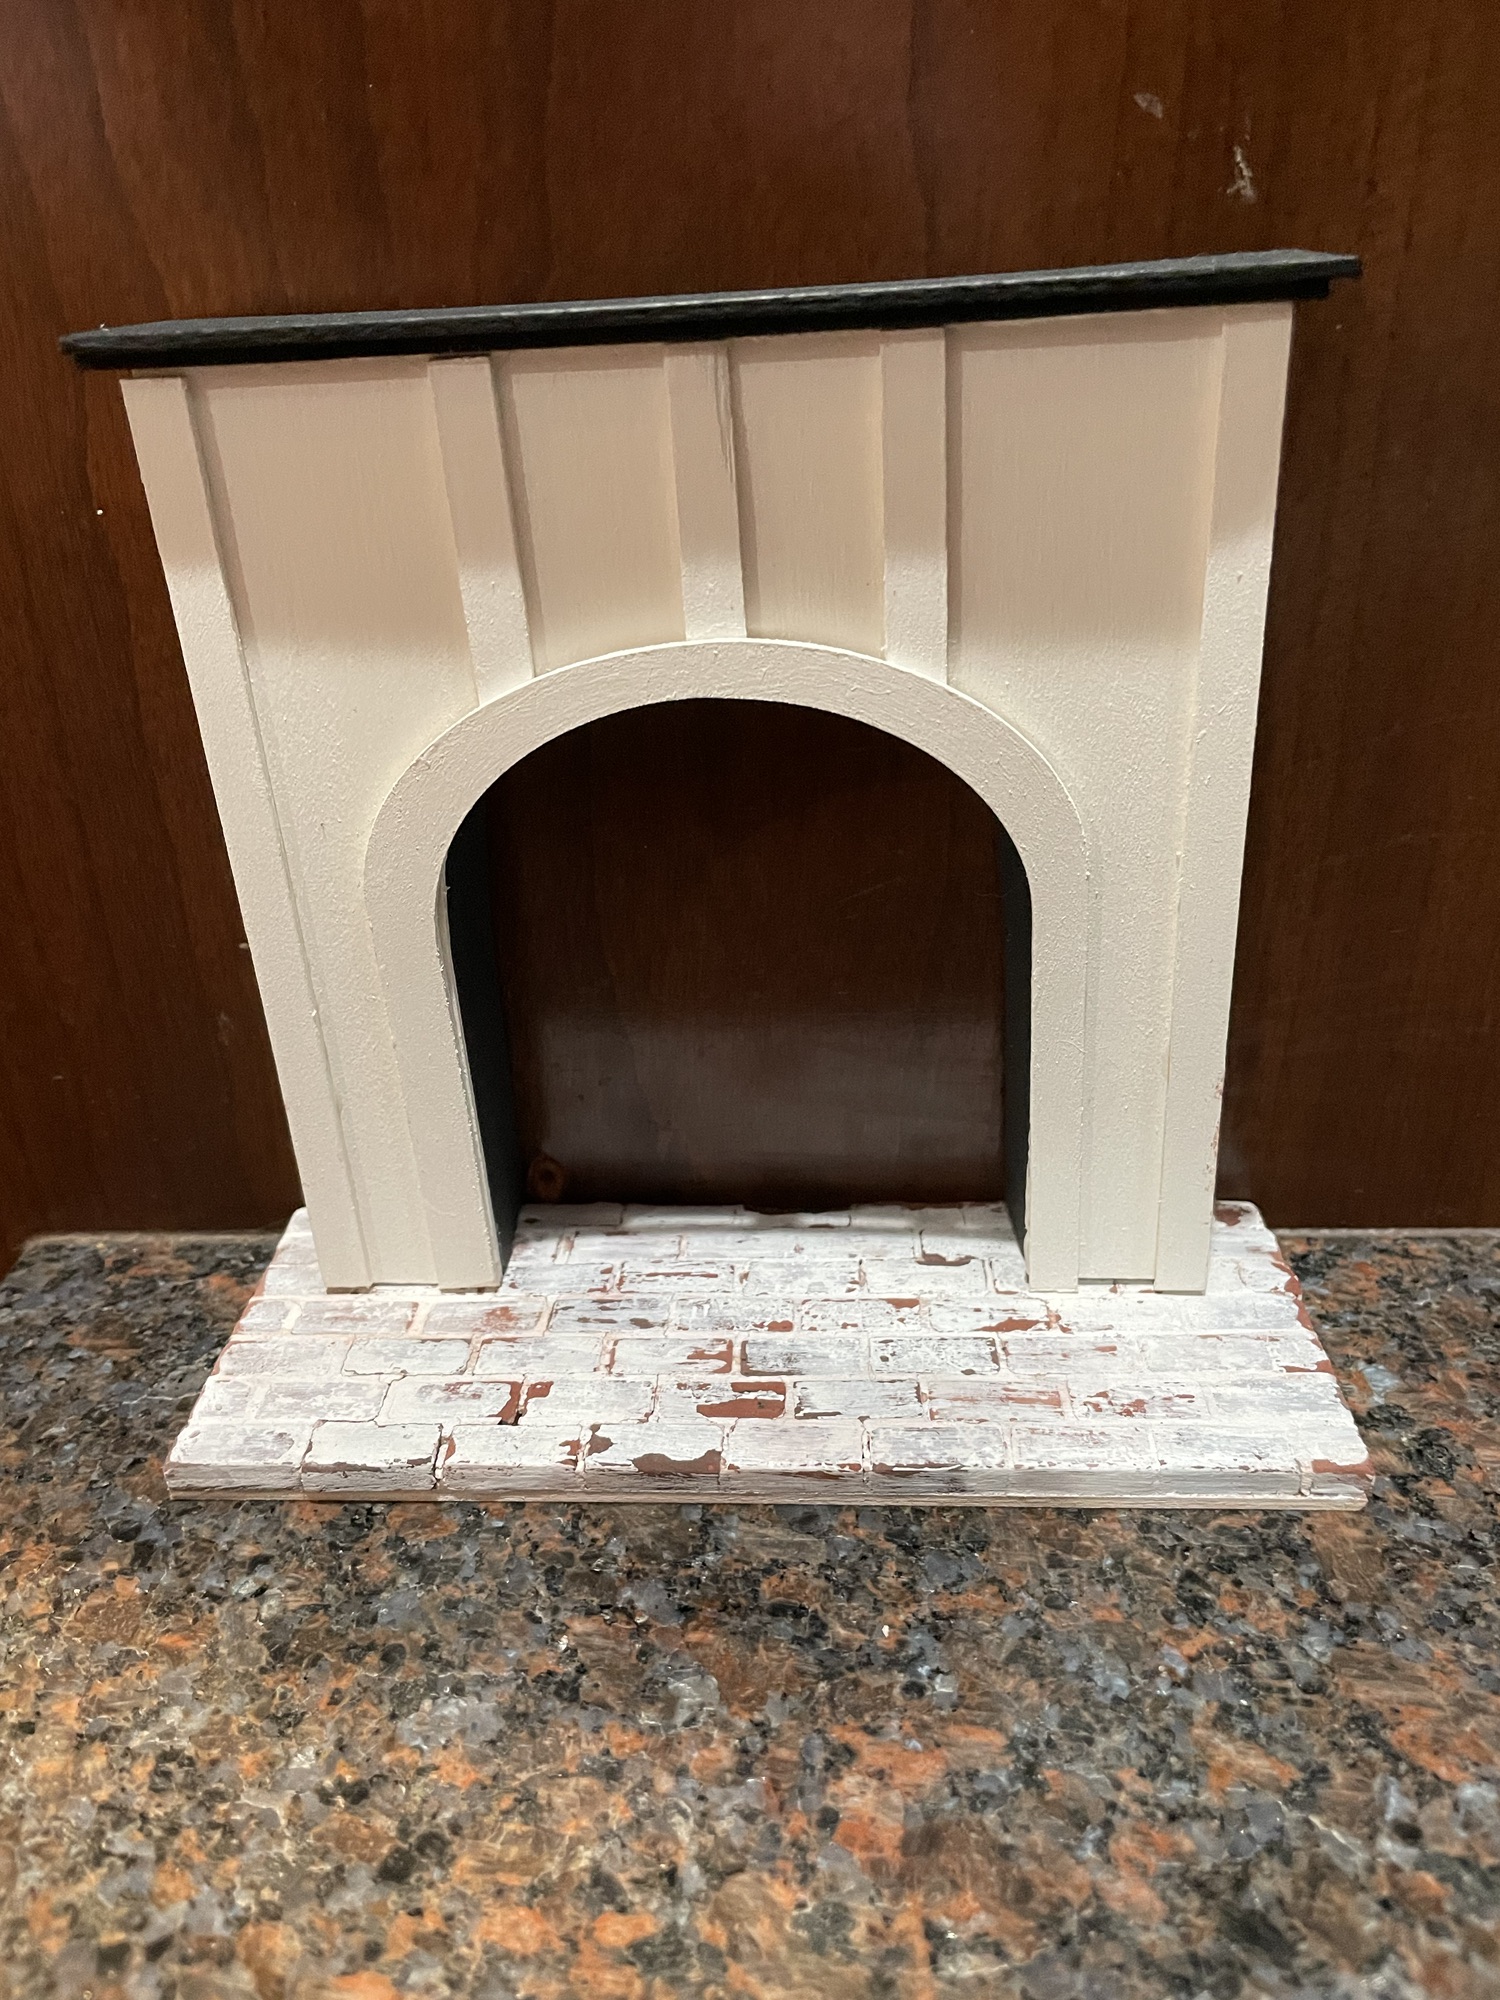
I used my Cricut Maker to cut all of the wood pieces out of 1/16 inch thick basswood sheets. I painted the mantel pieces black and the body and trim pieces white (which continues the color scheme from the outside of A’s house, see link).
When assembling the fireplace, I used small lengths of 1/4 inch dowels to brace the interior corners.
To shape the card stock edge in the inside of the arch, I used a cardboard circle and snipped the card stock so that it would curve well.

I used a black square of cardstock to make the back of the fireplace.
To make the hearth, I began with a rectangle of scrap basswood in the size that worked well in A’s living room. I spread Aleene’s craft glue on the wood and then carefully placed bricks in my desired pattern with a small gap for grouting. I let the glue dry overnight and then applied several coats of polyurethane spray.
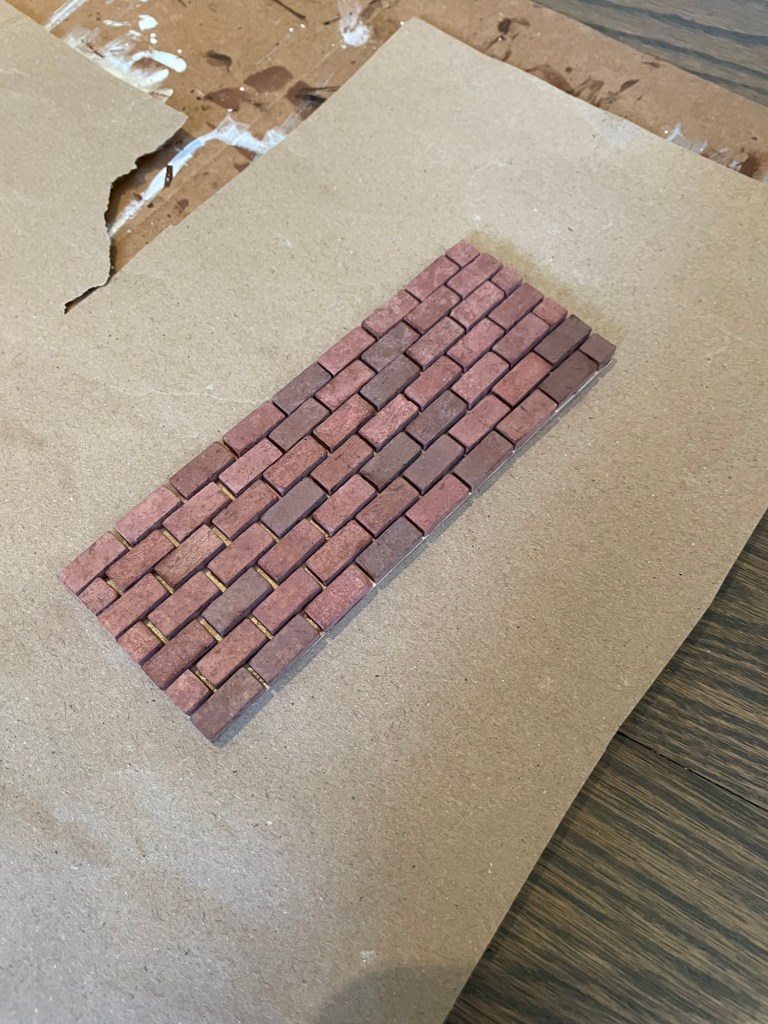
To grout the bricks, I bought a small container of unsanded grout from Home Depot. I mixed it according to the instructions and then spread the grout over the bricks.
A few edge bricks that hadn’t been glued well came off in the grouting process, but those were easy to reapply later. I scraped as much of the excess grout off as I could with a scrap piece of basswood.

After letting it dry 10-20 minutes per the package instructions, I used a wet towel to clean the brick tops of the excess. Despite the polyurethane coats, some of the color bled, so it helped to use different parts of the wet cloth to minimize the amount of red color seeping into the grout.

The next day, I fixed the missing bricks and used joint compound for the extra grout.
I painted the bricks white, then stripped some of the paint off with a magic eraser.
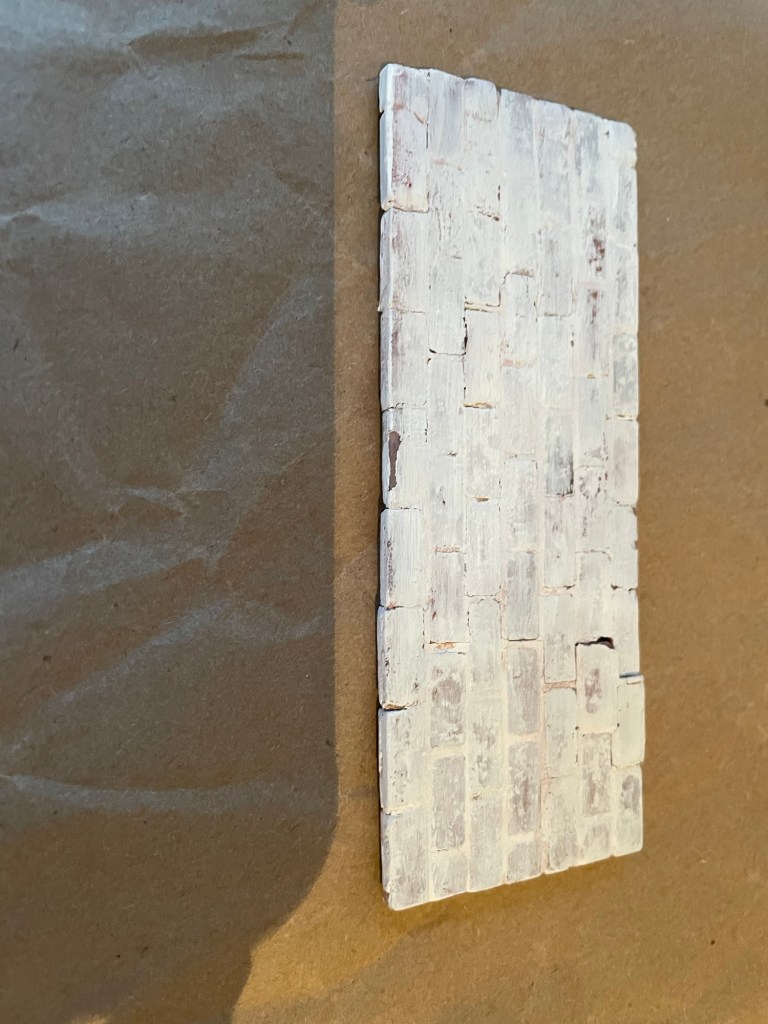
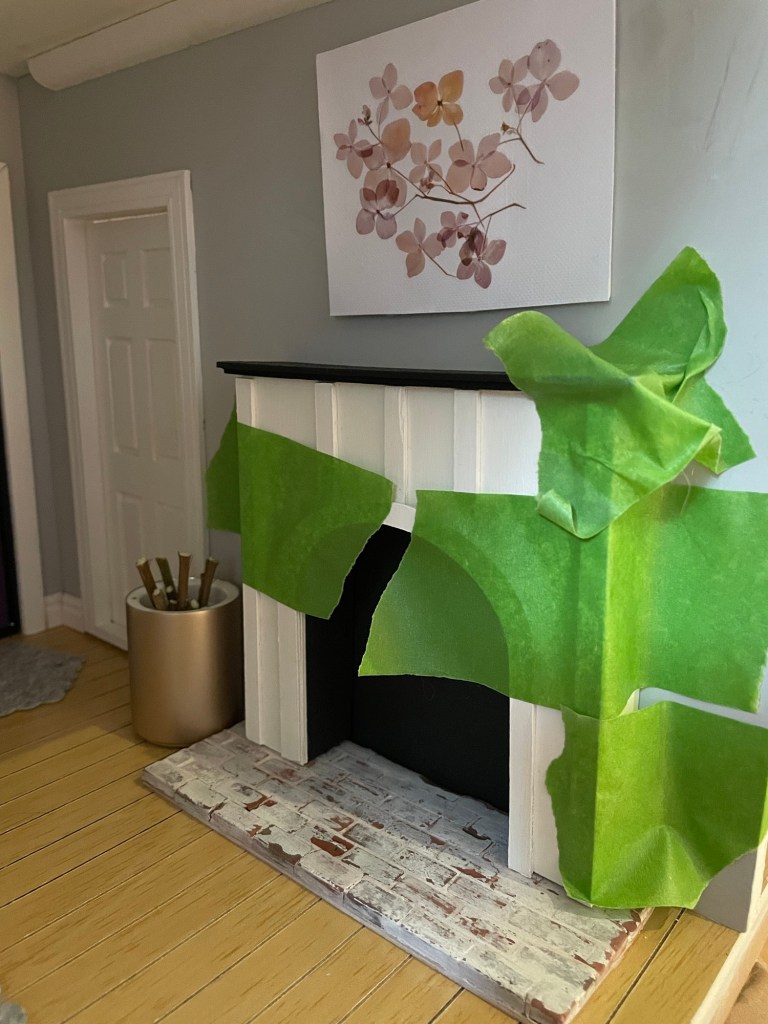
I adhered the pieces to the wall and floor with Aleene’s wood glue and held with painter’s tape while the pieces dried. (My “logs” are twigs from trimming a tree in my yard.)
Then I used some black paint for the inner hearth so it did not look so new.
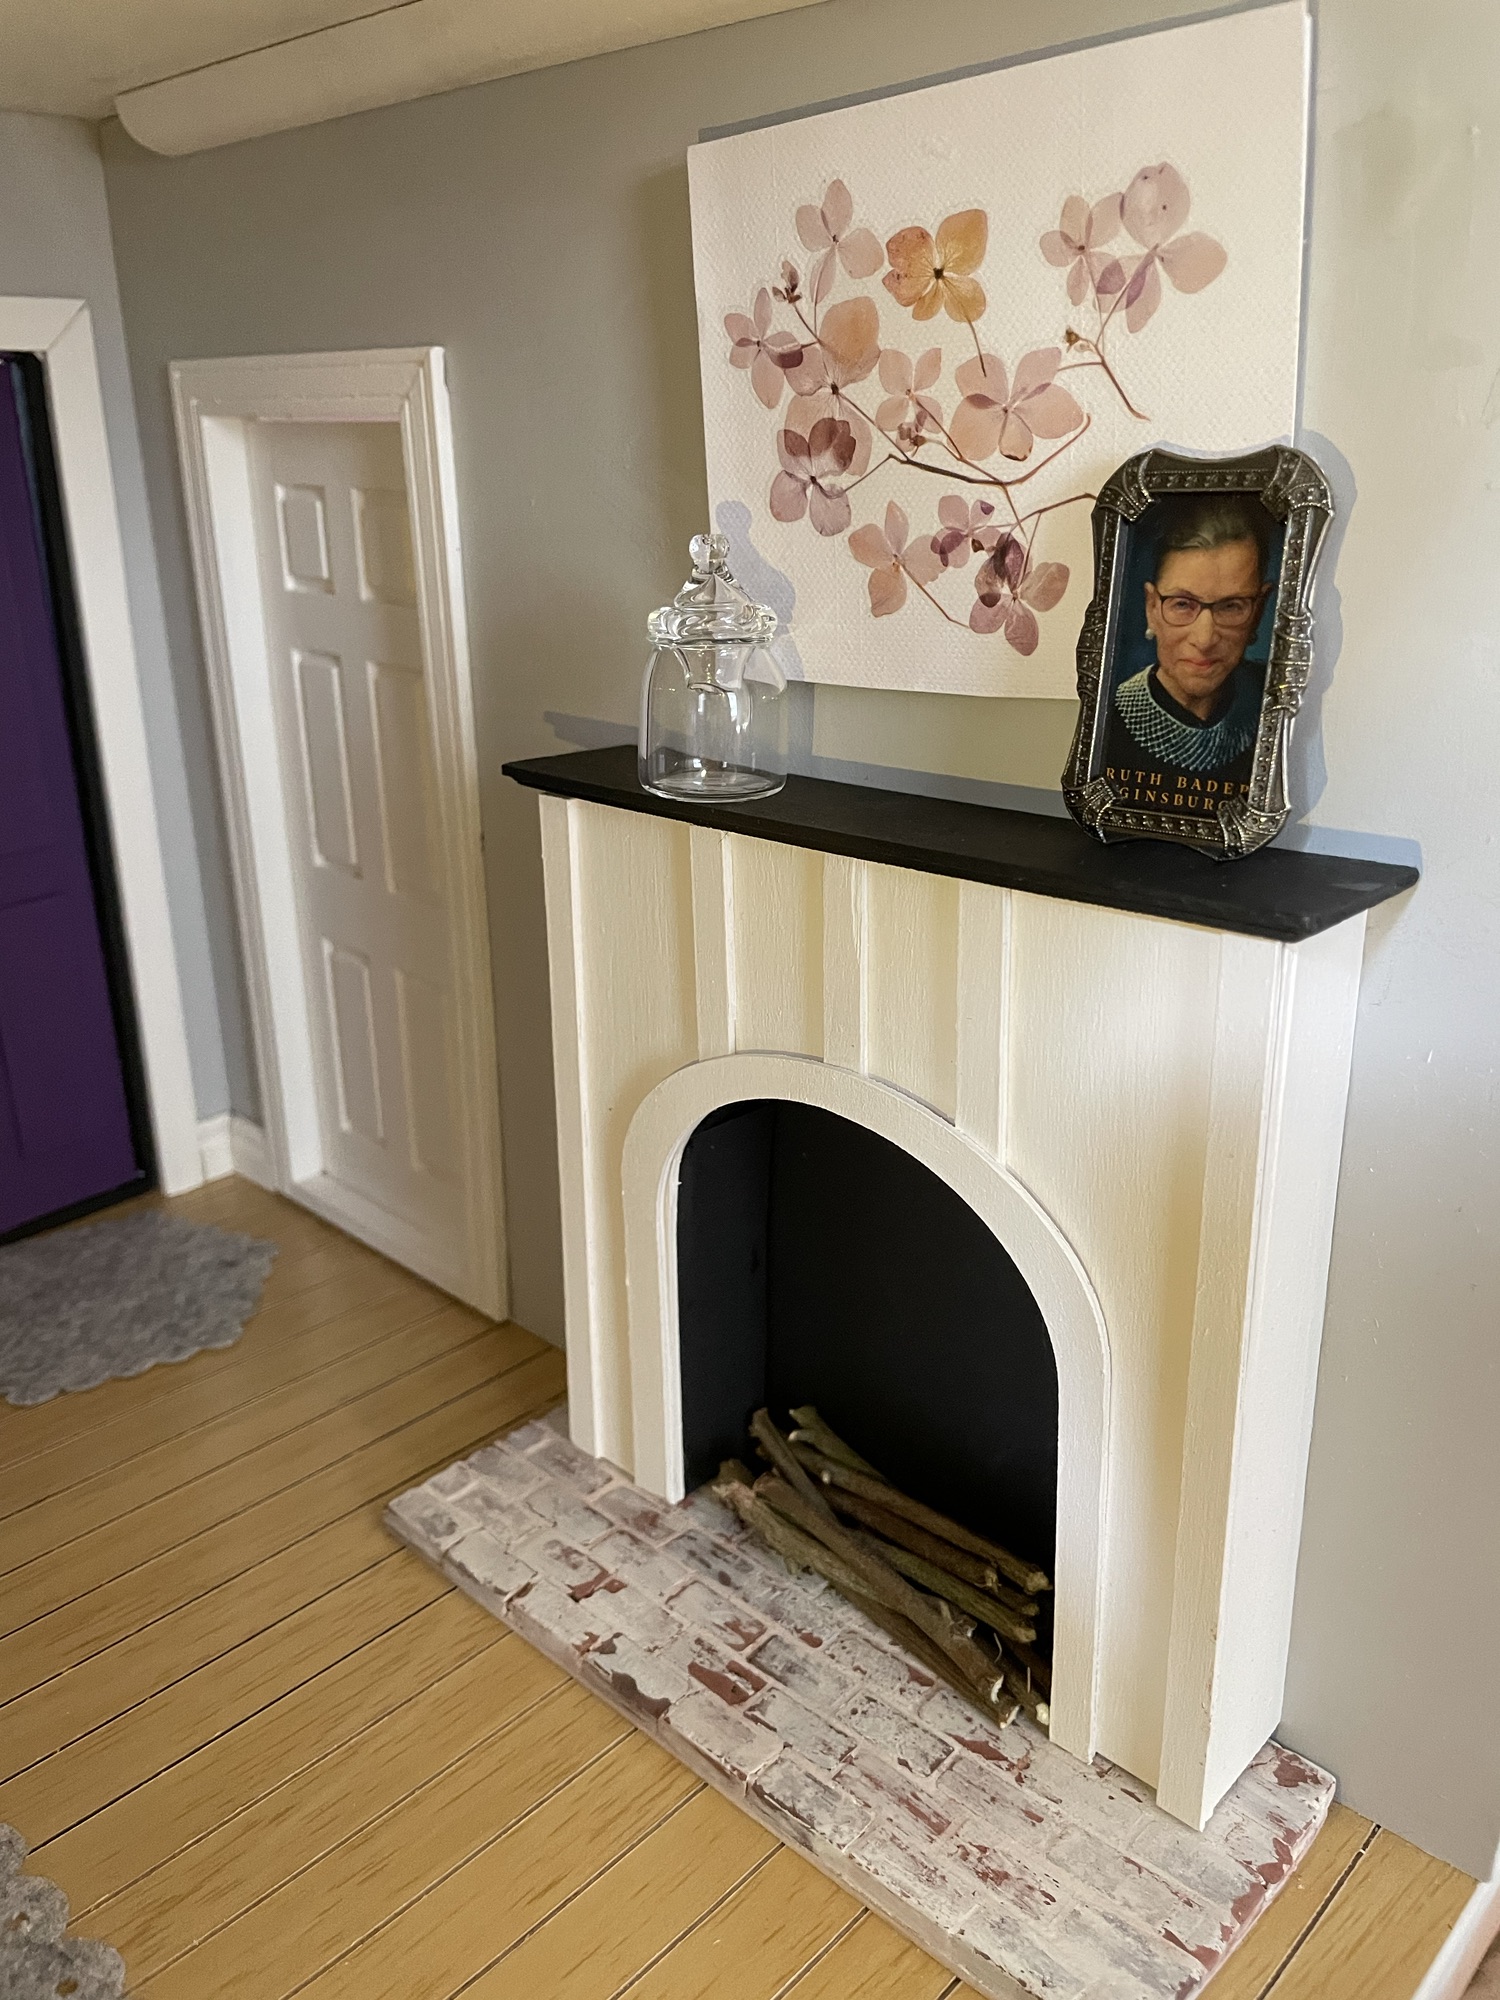
Here is the finished fireplace:
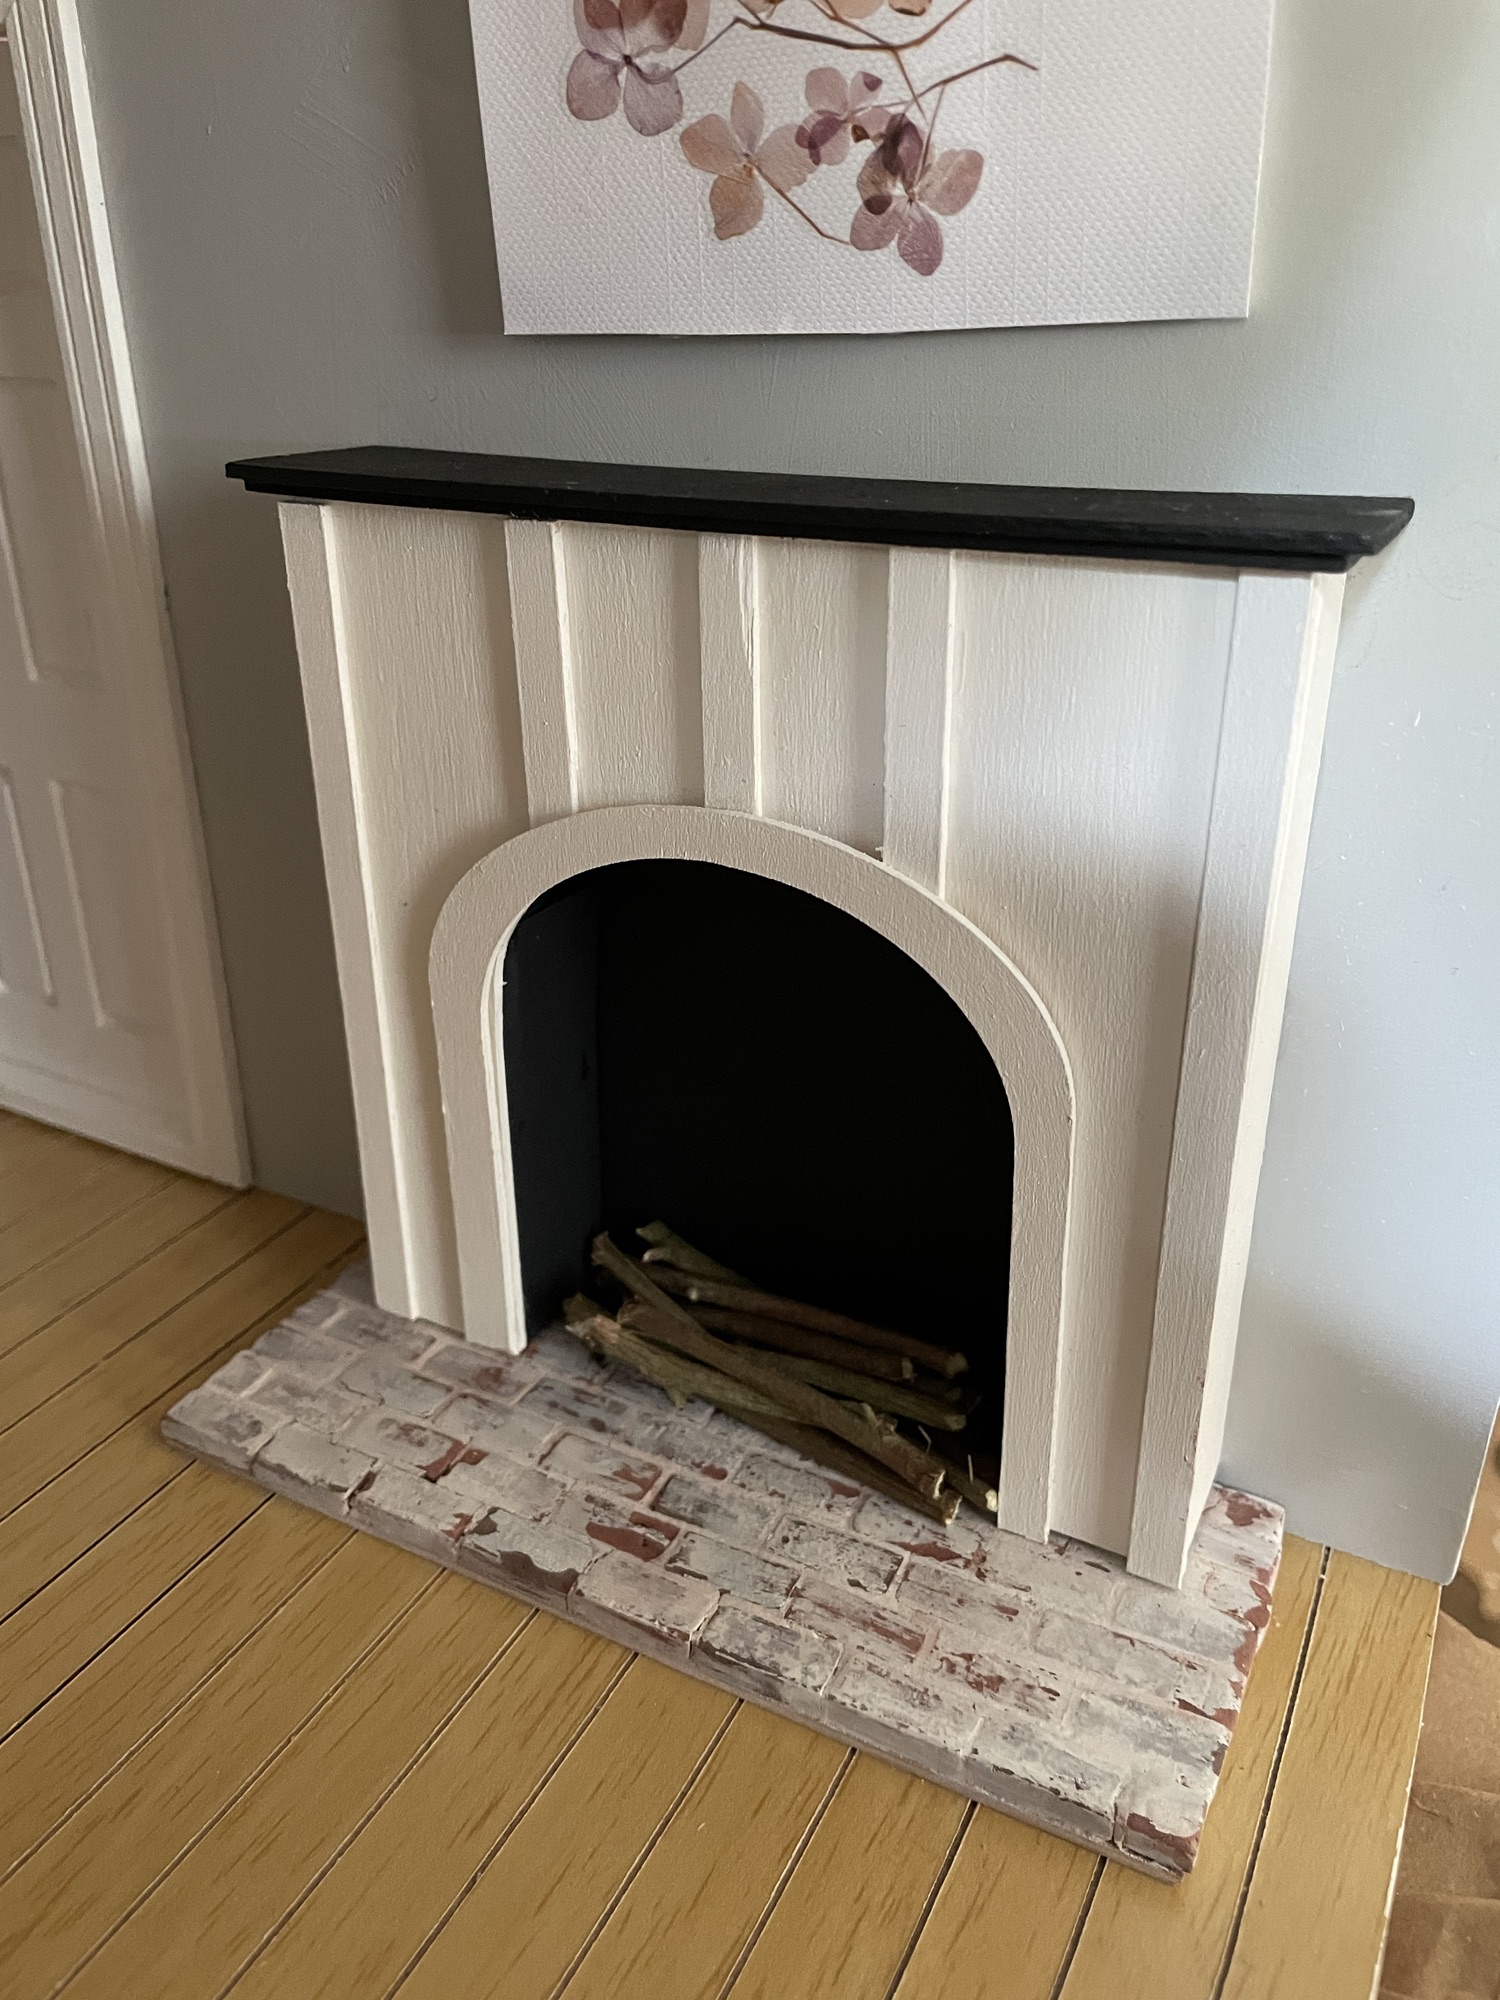
I’m on the lookout for a good STL file to 3D print for the grate. Any suggestions?

Leave a comment