Luna’s House
-
Fixer Upper Dollhouse Part 5: Back Inside Luna’s House
Visit the other installments in this series here: part 1, part 2, part 3, and part 4. After making a lot of progress on the outside of Luna’s house, it was back to the inside. I stained preassembled stairs (link) with a medium oak to go with the traditional vibe of the house. I finished…
-
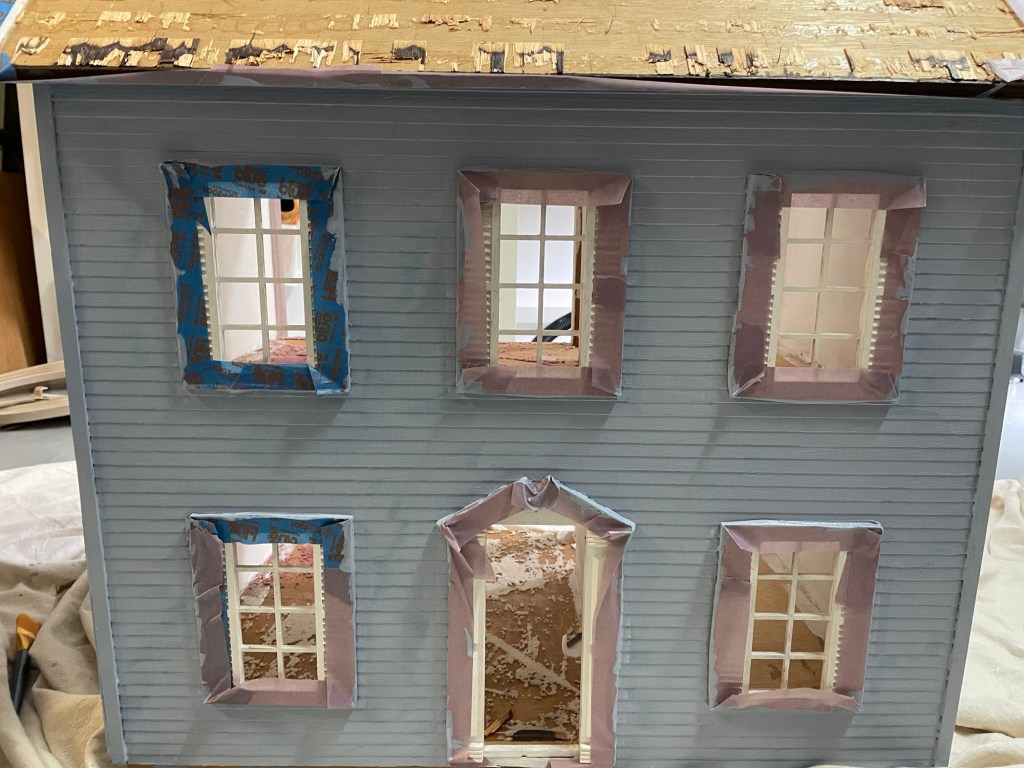
Rehabbing a Fixer Upper Dollhouse, Part 4
Please see here for Part 1 of this series, here for Part 2, and here for Part 3. First, it was time to work on the exterior of the house again! I started by shingling the roof. I used fishscale shingles for a traditional vibe. My favorite adhesive for shingles is this one from Home…
-
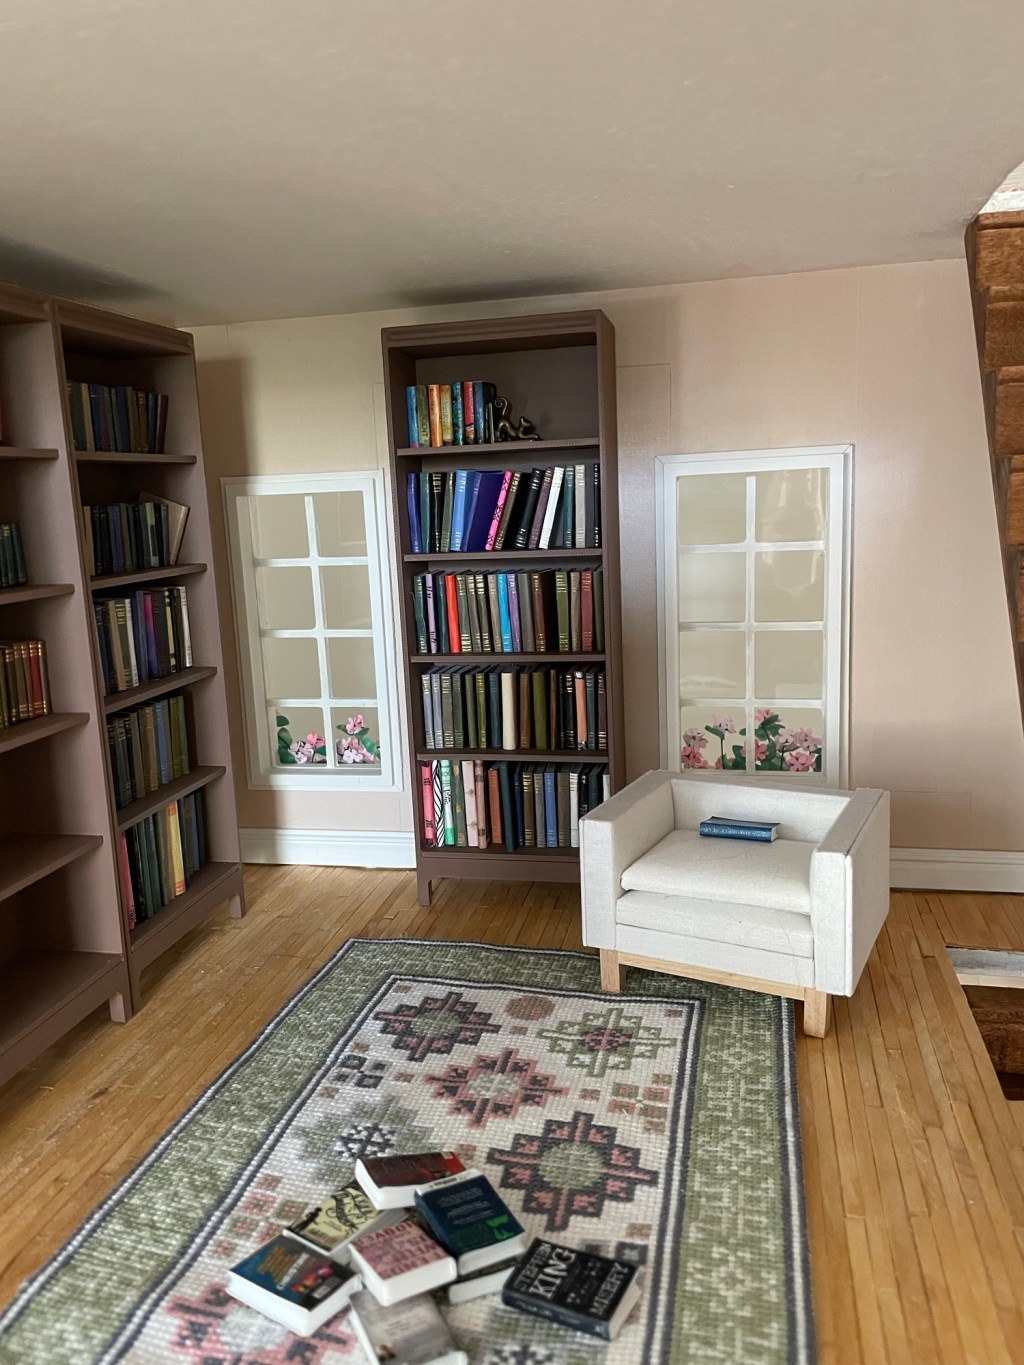
Rehabbing a Fixer Upper Dollhouse, Part 3
Please see here for Part 1 of this series and here for Part 2. After testing a few stains on the coffee stirrers, I went with pine (link) for the floors of Luna’s house. They now have a classic and traditional look. After letting the stain dry overnight, I finished with a coat of krylon…
-
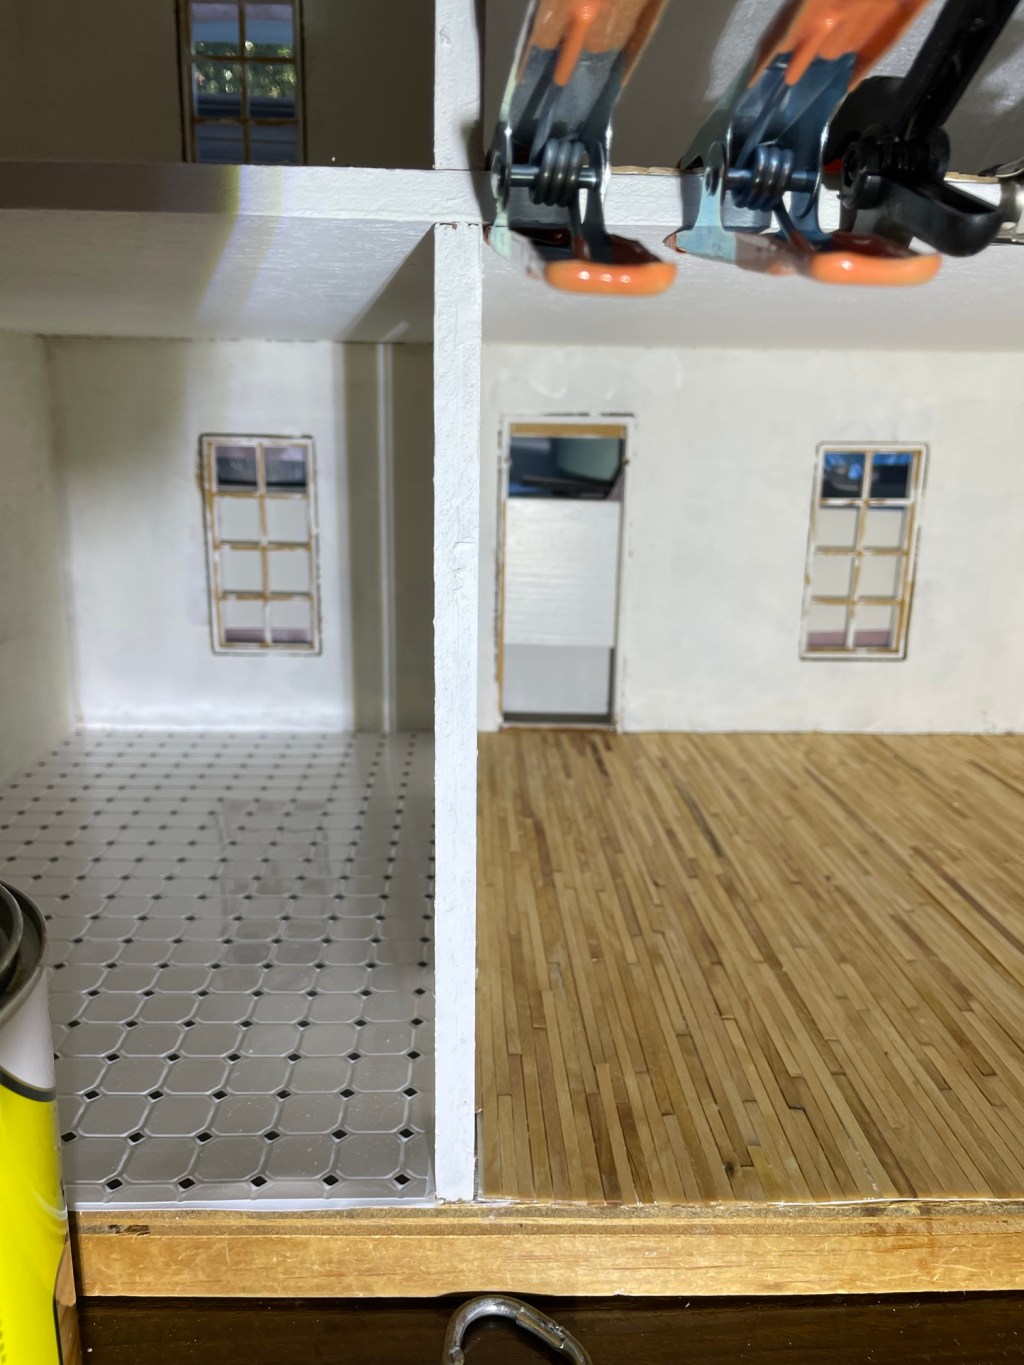
Rehabbing a Fixer Upper Dollhouse (Part 2)
Luna’s house continues to come along nicely. My kids picked out a light blue-gray for the exterior paint. I’m using this classic, tile-look flooring from Hobby Lobby in the kitchen (link). I decided to cover the other floors in wood. I used coffee stirrers (link) and cut them with miter sheers (link). I got guidance…
-
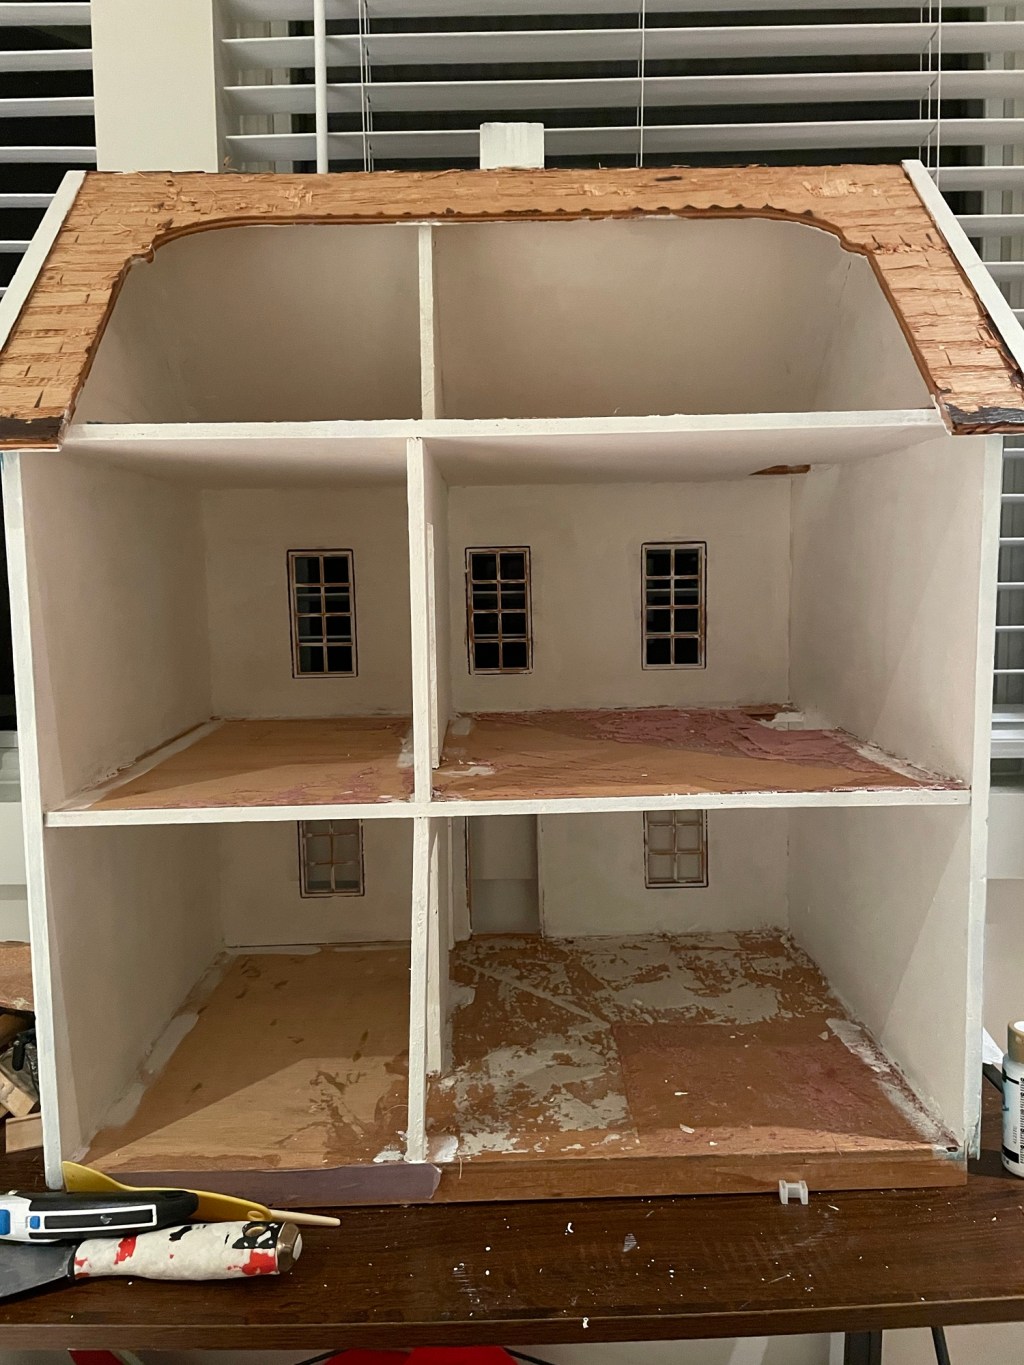
Rehabbing a Fixer Upper Dollhouse (Part 1)
We love Luna’s house, which we found on Facebook Marketplace and shared the before pictures of here. For the initial rehab, I needed to remove the carpets, wallpaper, and shingles. I will share what I learned in each of those steps below. This post contains affiliate links, which means that we earn a commission if…