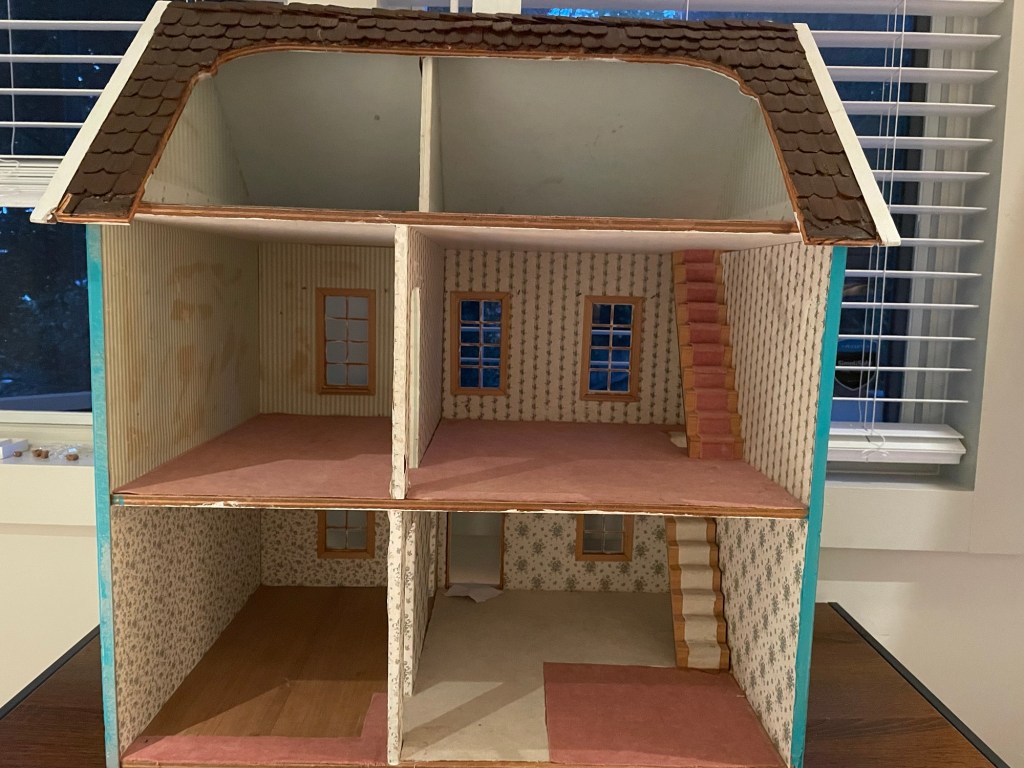
We love Luna’s house, which we found on Facebook Marketplace and shared the before pictures of here.
For the initial rehab, I needed to remove the carpets, wallpaper, and shingles. I will share what I learned in each of those steps below.
This post contains affiliate links, which means that we earn a commission if you make a purchase on Amazon through the links. #affiliate
Carpet removal
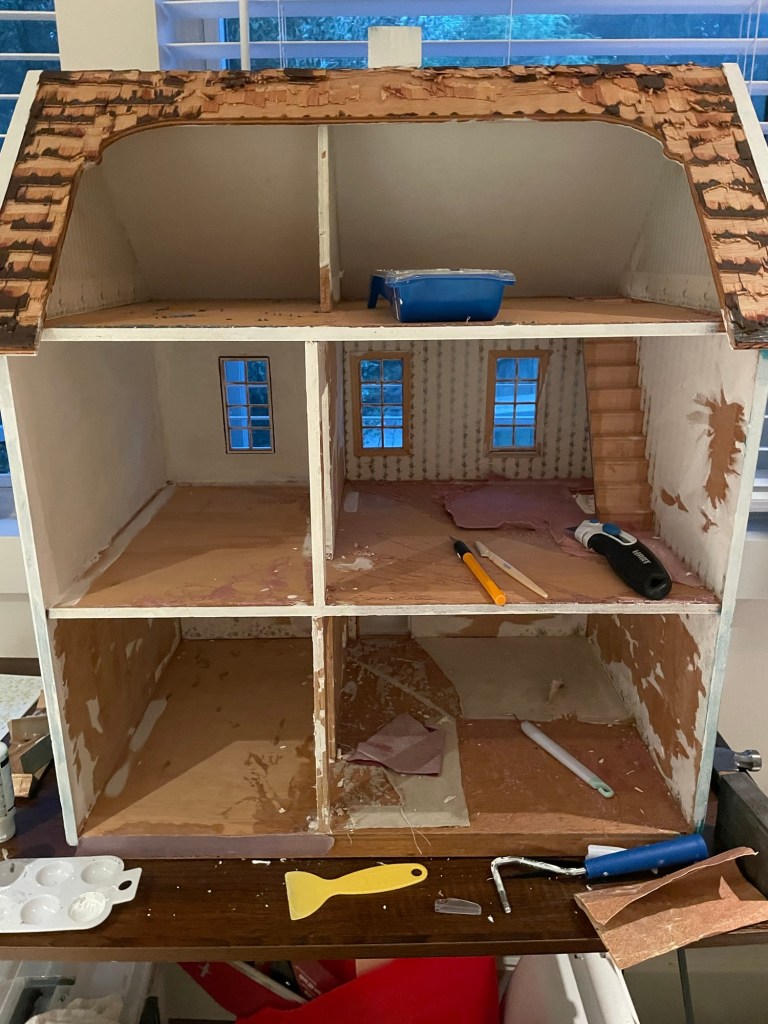
Removing the carpets was the most essential first step. They had a lot of dust, so I vacuumed as I went. Some parts pulled up easily. For other parts—where more glue had been used—I used the hack from this tutorial (link) of heating the area with a blow dryer so the glue would soften, then pulling it up with a metal scraper/putty knife (similar link). The next step will be to use mineral spirits (or as they call it in the UK, white spirits) to remove the rest of the glue (link). But because of the smell, that’s an outside project.
Wallpaper removal
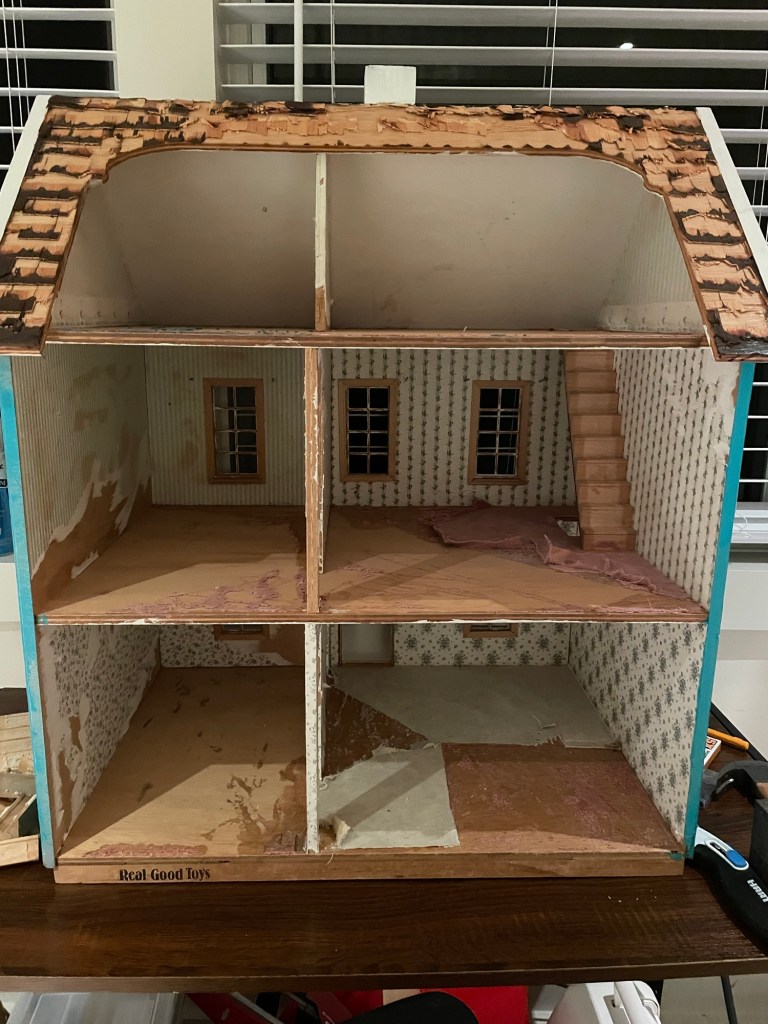
Some of the wallpaper came off while it was dry, but for the rest, I applied water with a foam brush and then scraped the paper off. I preferred using a small yellow plastic scraper from my offbrand Cricut mat purchases to the metal scraper for this. My offbrand Cricut weeder was also really helpful (link). Then, I used a wet cloth with mild dish soap to clean the wall further.
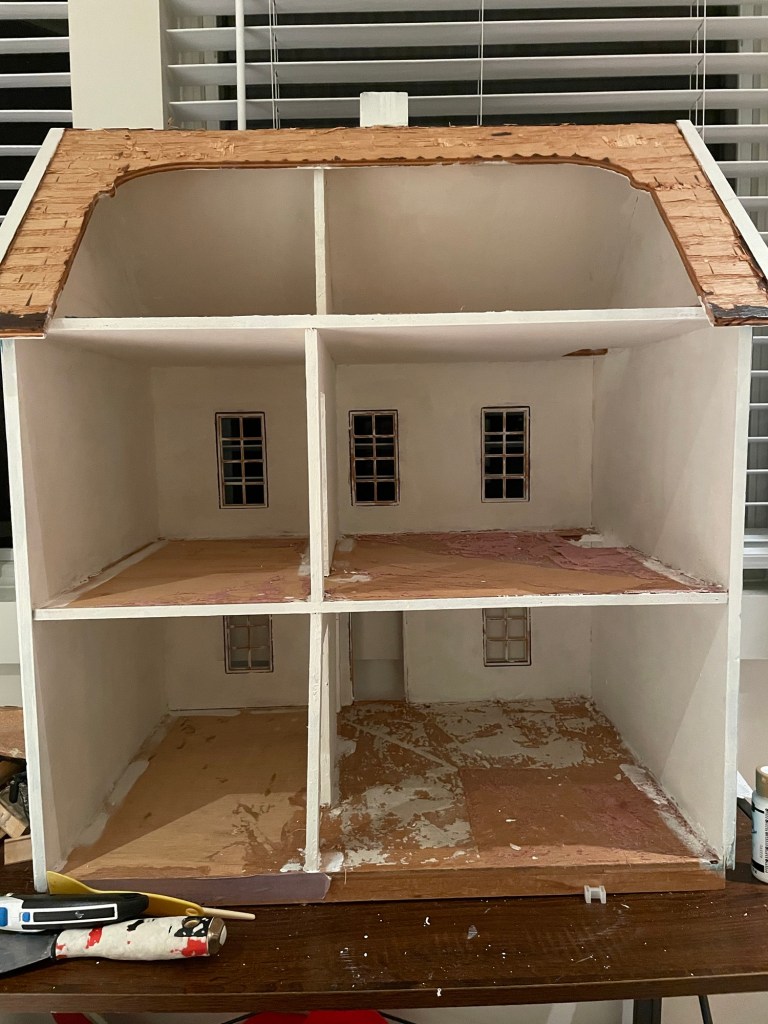
Lots of wet, gluey paper everywhere, but once it was off and dry I was able to paint the walls white for that clean, blank slate look.
Shingle removal
Removing the shingles wasn’t strictly necessary, but I didn’t like the way that the shingles had been applied. On the first night, I pulled some pieces off manually. On the third night, I brought out some of the big guns: my crowbar (similar link) and hammer. I used the blow dryer to soften the glue and put on my safety goggles to protect my eyes. Then, I wedged the crowbar end under the shingles and used the hammer to drive the wedge upward. Some of the wood from the roof splintered off because it was adhered so strongly to the shingles, but I think the wood will be strong enough for whatever new roofing we decide to go with.
Planning ahead
Now comes the fun next chapter: planning out the rooms and decor! I have some cute wallpapers that I want to try purchased on Etsy (link) and I think a library with a lot of books would be lovely. I want to incorporate some moon elements to stay with the “Luna” theme. I also want to see if Cricut veneer (link) makes a good flooring option or if I should go with coffee stirrers (link to tutorial). So much to try!

Leave a reply to Fixer Upper Dollhouse Part 5: Back Inside Luna’s House – Saint B Miniatures Cancel reply