
Please see here for Part 1 of this series and here for Part 2.
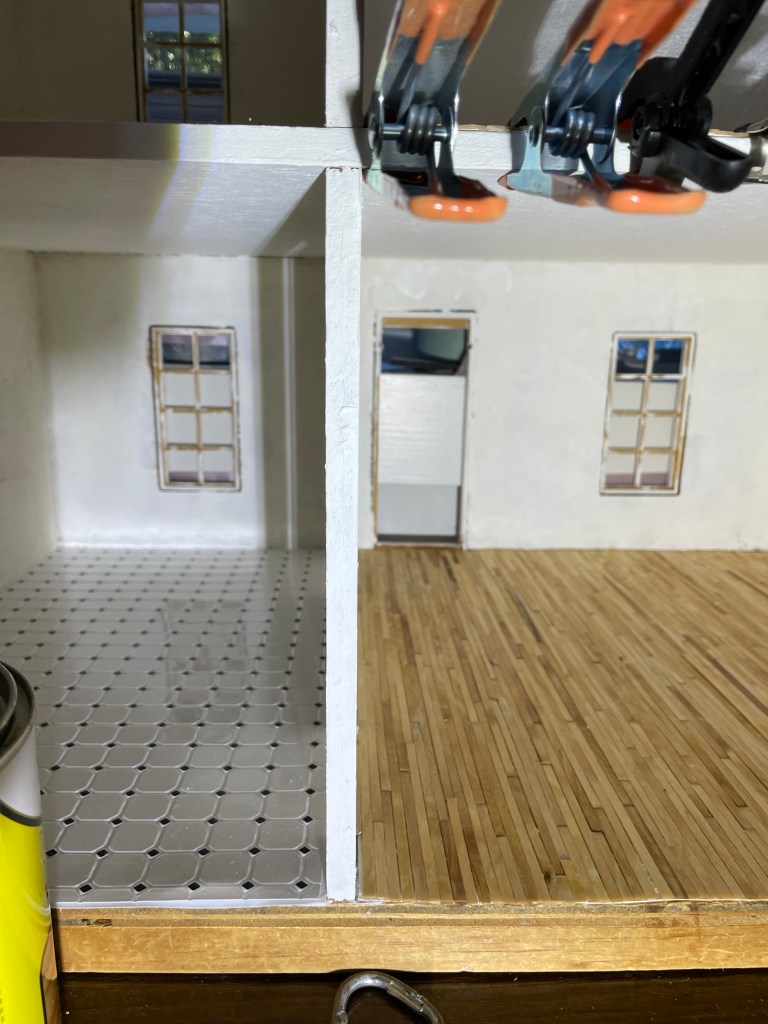
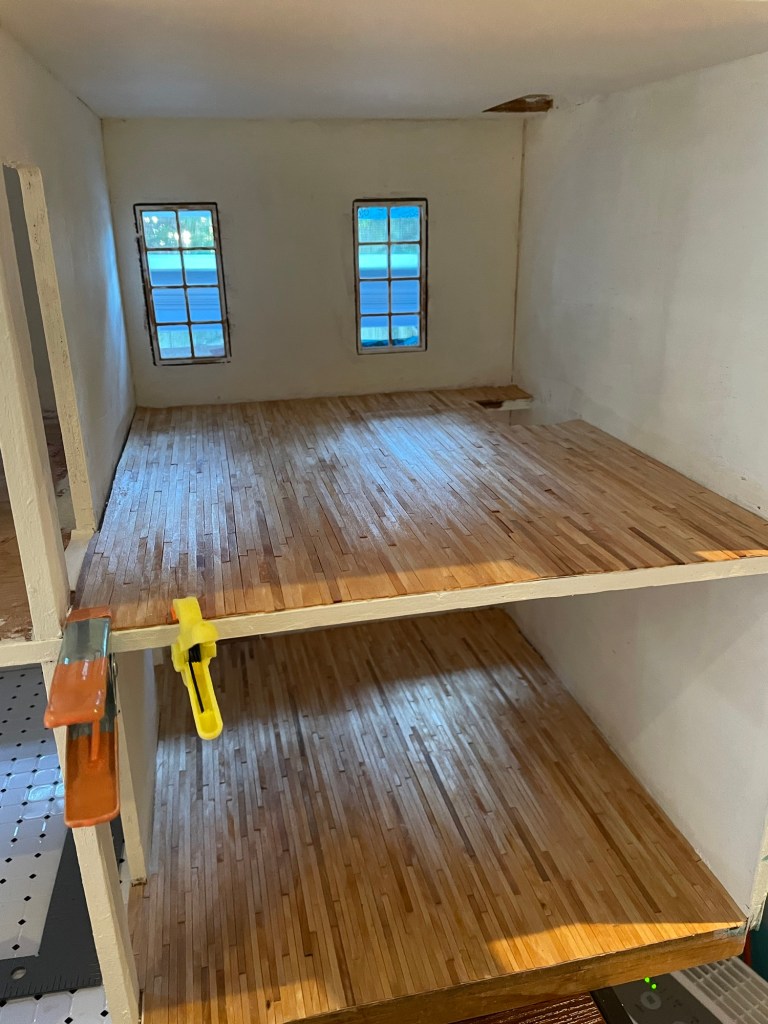
After testing a few stains on the coffee stirrers, I went with pine (link) for the floors of Luna’s house. They now have a classic and traditional look. After letting the stain dry overnight, I finished with a coat of krylon matte spray (link). Should have sprayed outside, my air filter worked very hard to clean the air in the workshop after the spray.
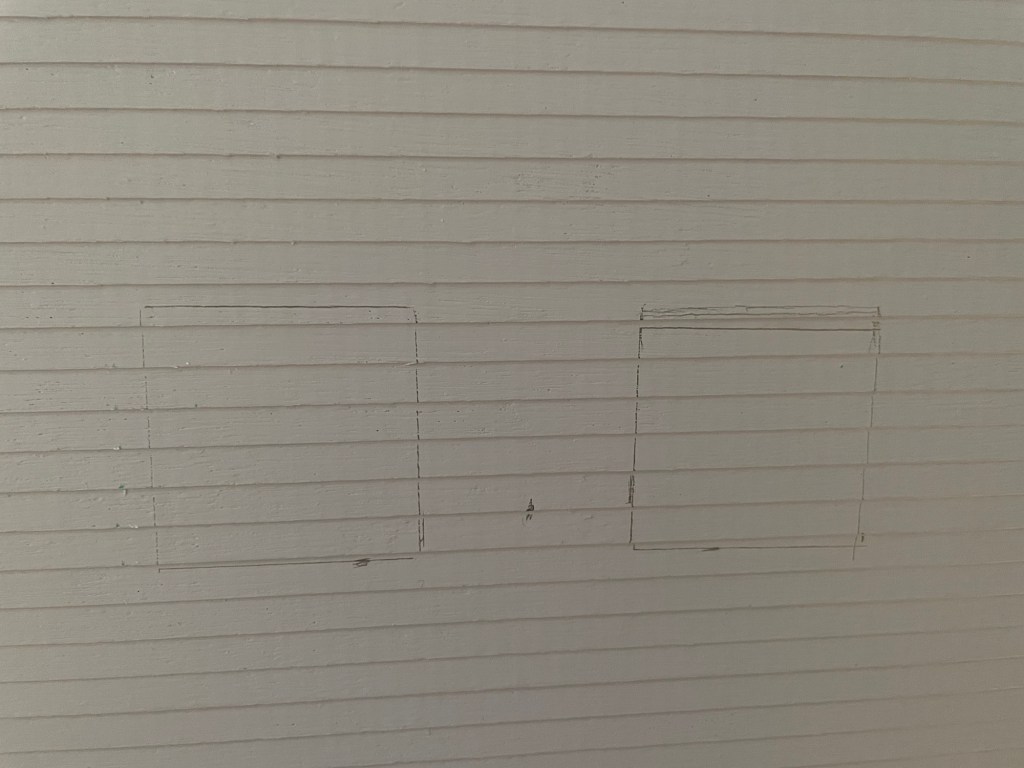
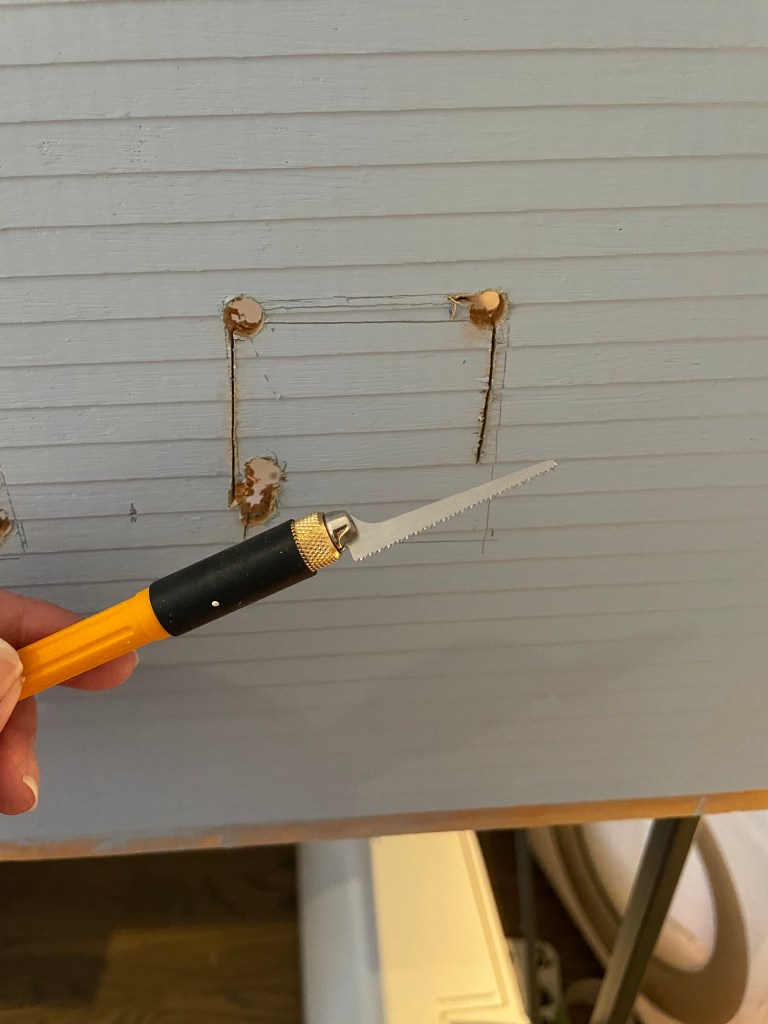
I decided to cut some additional windows for the kitchen. I used a technique from one of Cath’s videos on The Square to Spare (link). I drilled holes to create space for the saw and used a teeny-tiny saw blade that she recommended (link) on my olfa craft knife (link). Instead of MDF, however, this vintage dollhouse is solid wood, so a stronger saw would have been better. The blades come in a set of three and I broke two. The mini saw was pretty easy to use, though, and did not take very long.
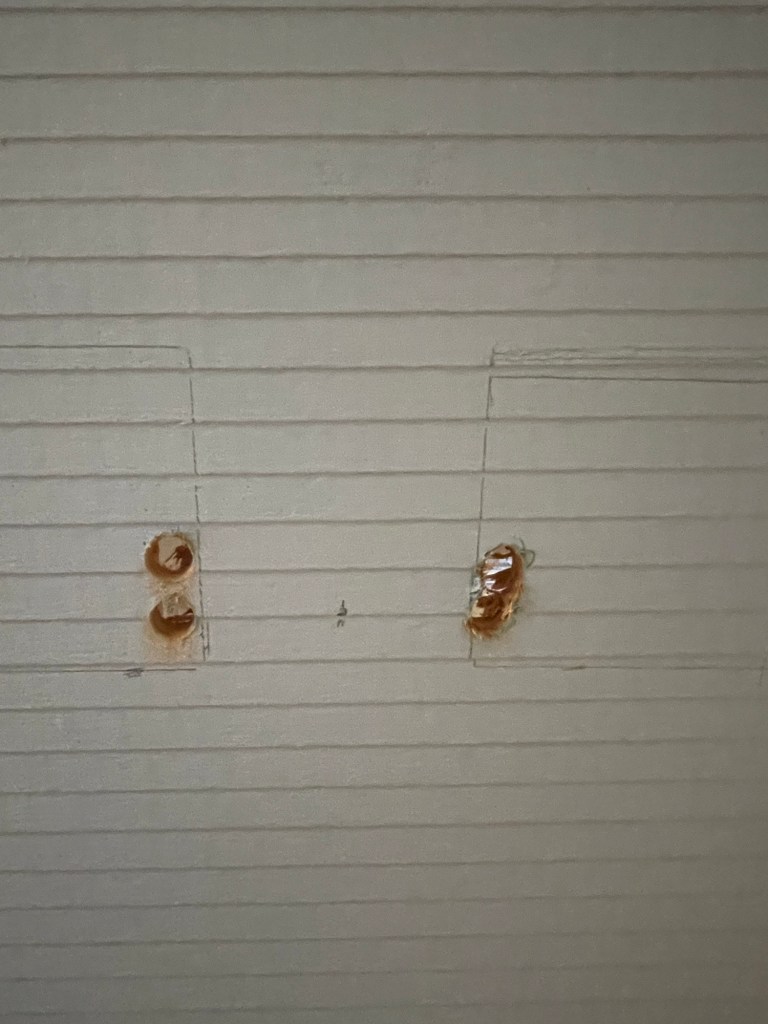
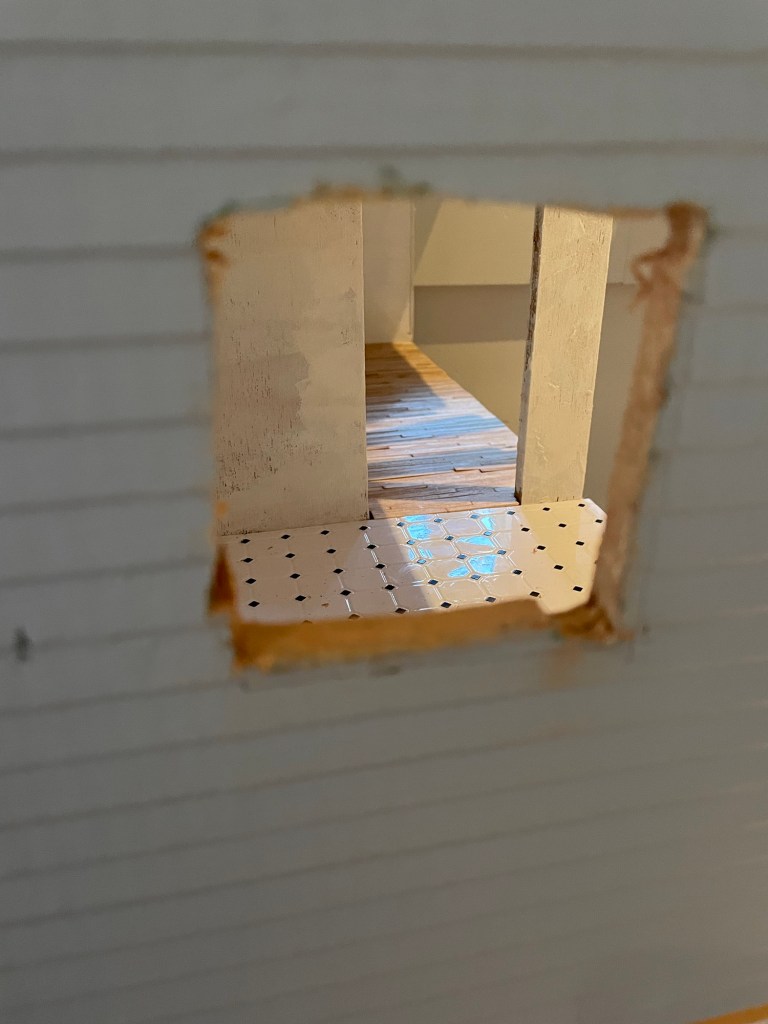
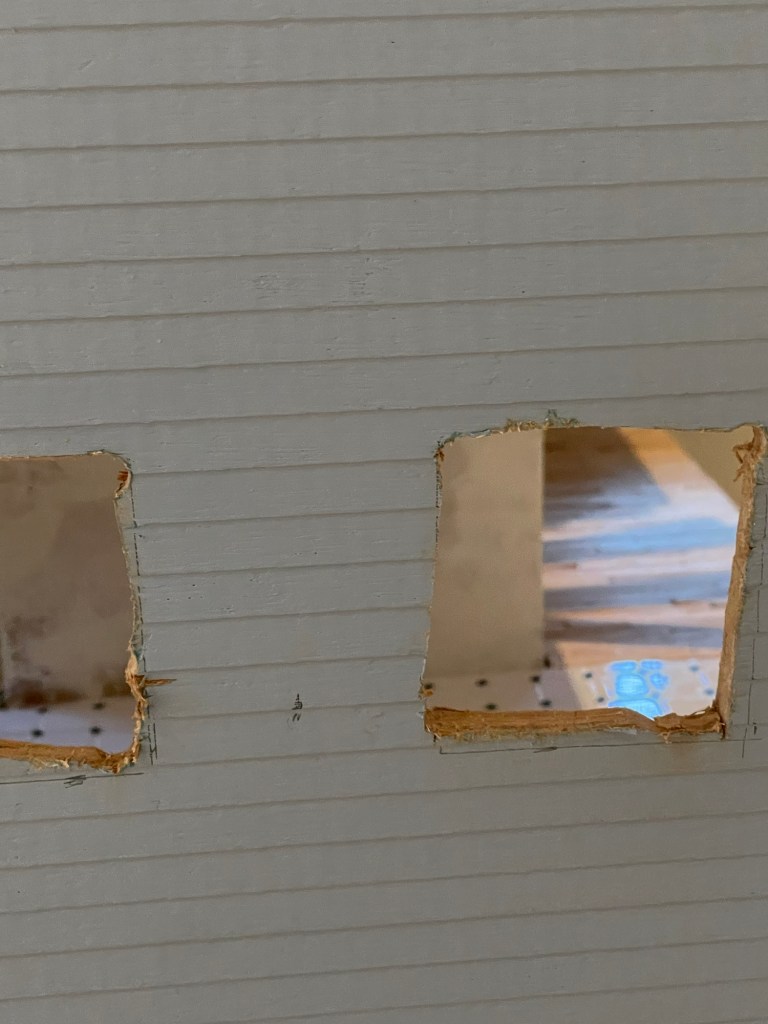
The next step will be to use a rotary sanding tool (similar to a Dremel, but I bought a different brand available at Harbor Freight, link) to make the openings more square.
Then it was time for wallpaper! I picked a few designs from this megapack I purchased from LondonMiniatures on etsy (link) and a few from this book of papers (link).
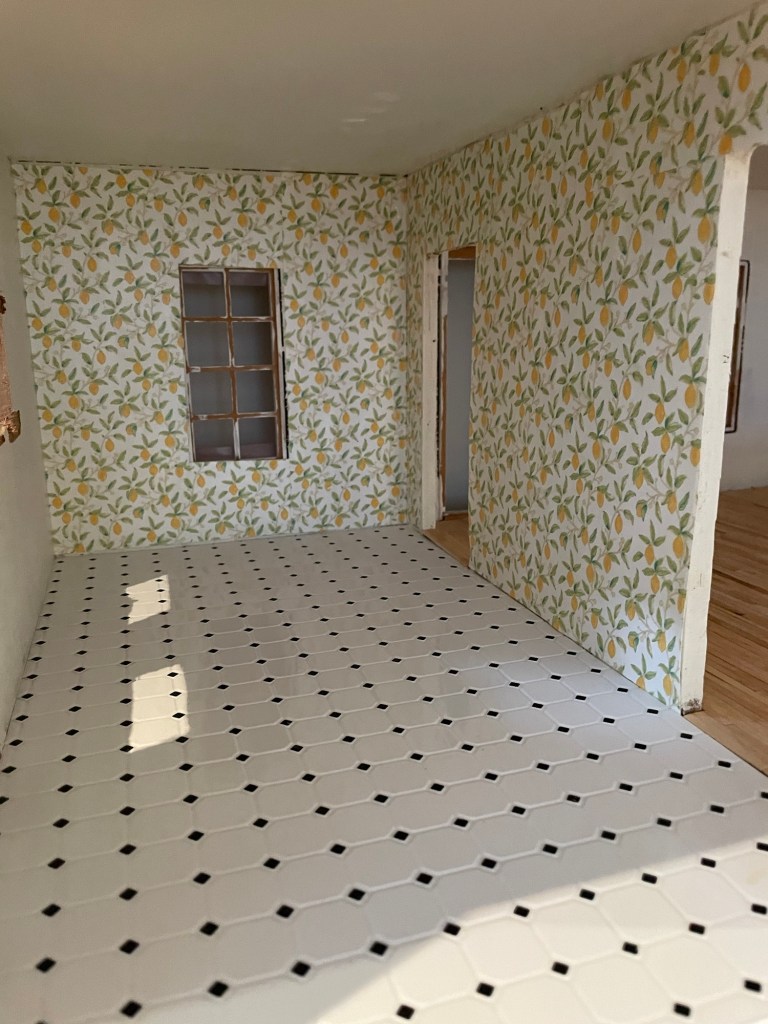
I have always loved green kitchen cabinets, so I’m excited to make them for this kitchen.
This post has Amazon affiliate links. If you use the link to make a purchase on Amazon, we earn a small commission.

Leave a reply to Fixer Upper Dollhouse Part 5: Back Inside Luna’s House – Saint B Miniatures Cancel reply