
Please see here for Part 1 of this series, here for Part 2, and here for Part 3.
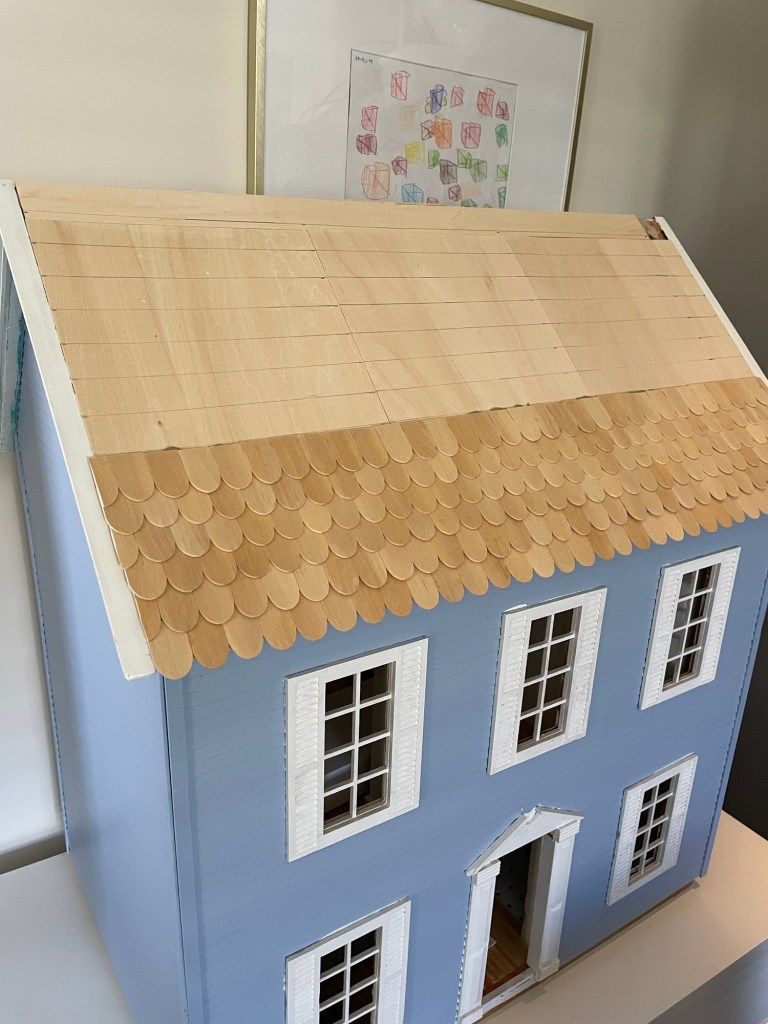
First, it was time to work on the exterior of the house again! I started by shingling the roof. I used fishscale shingles for a traditional vibe. My favorite adhesive for shingles is this one from Home Depot. It’s not water soluble, so the shingles don’t warp. But avoid getting it on your hands!
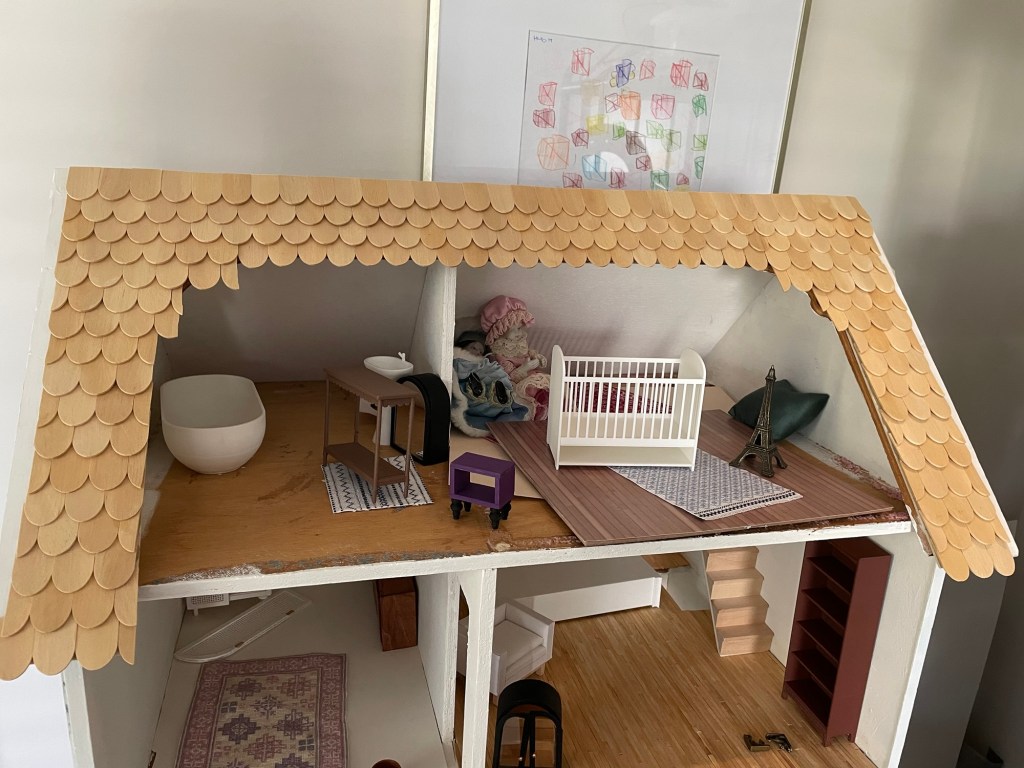
(As you can see, I had been storing potential pieces for the house inside, but I emptied it again when I returned to the inside work.)
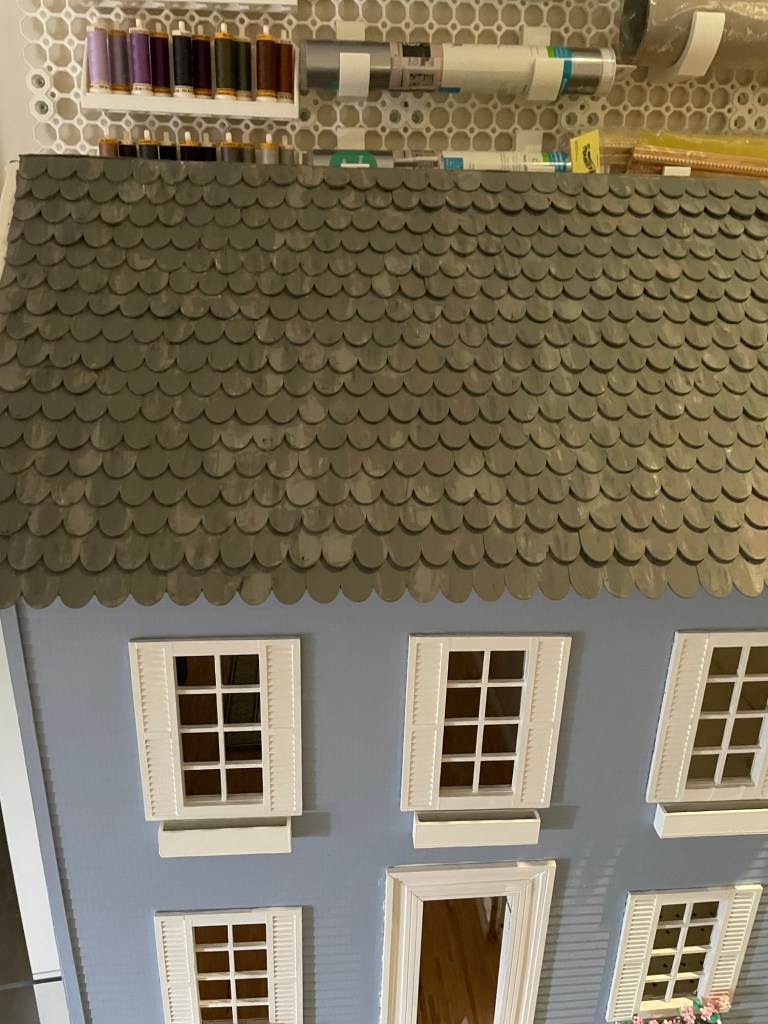
Next, I painted the shingles with a medium gray with blue undertones. It took a few coats to cover them well and to fill in the nooks and crannies between the shingles.
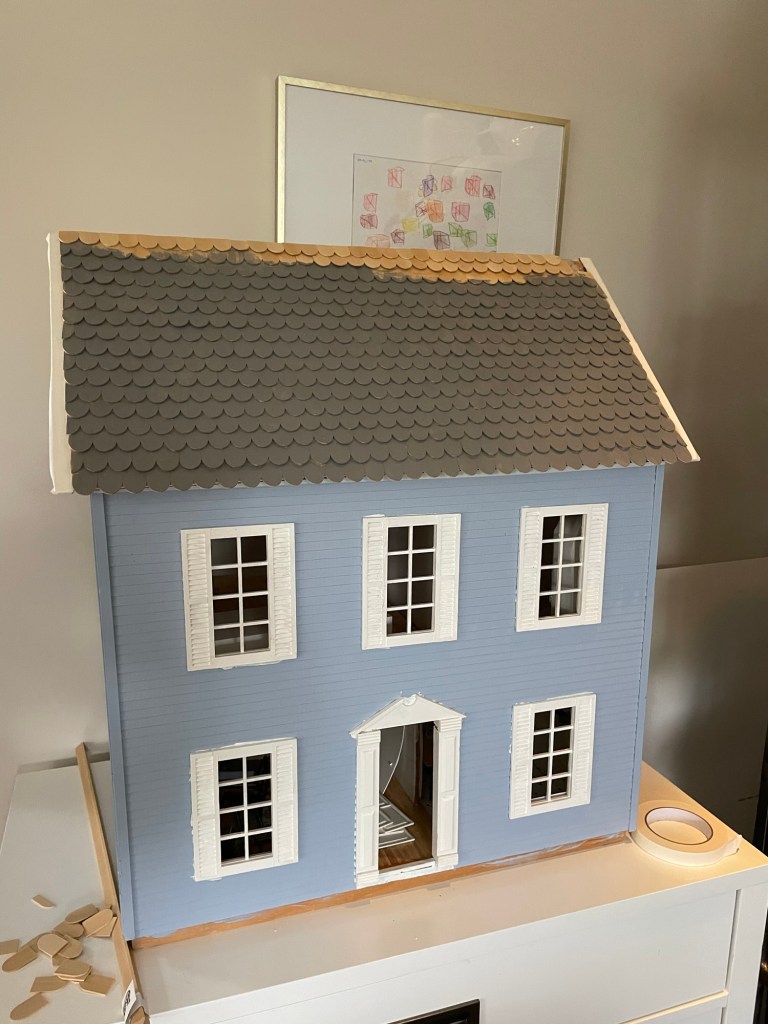
I added white, black, and another medium gray to give a slate look.
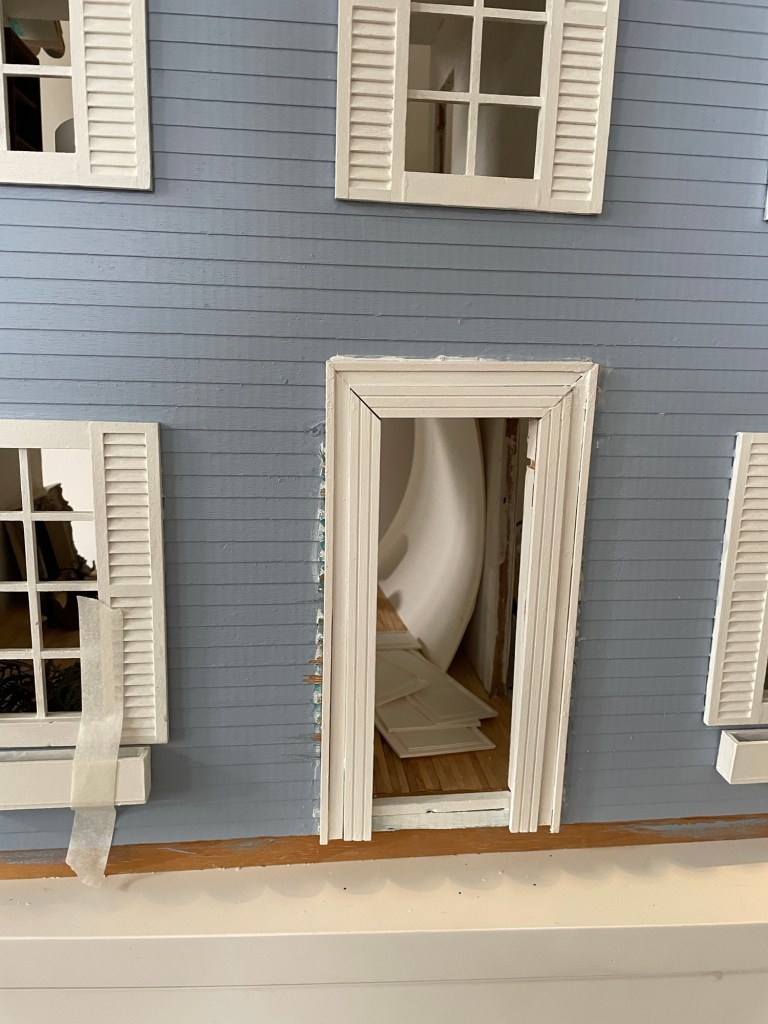
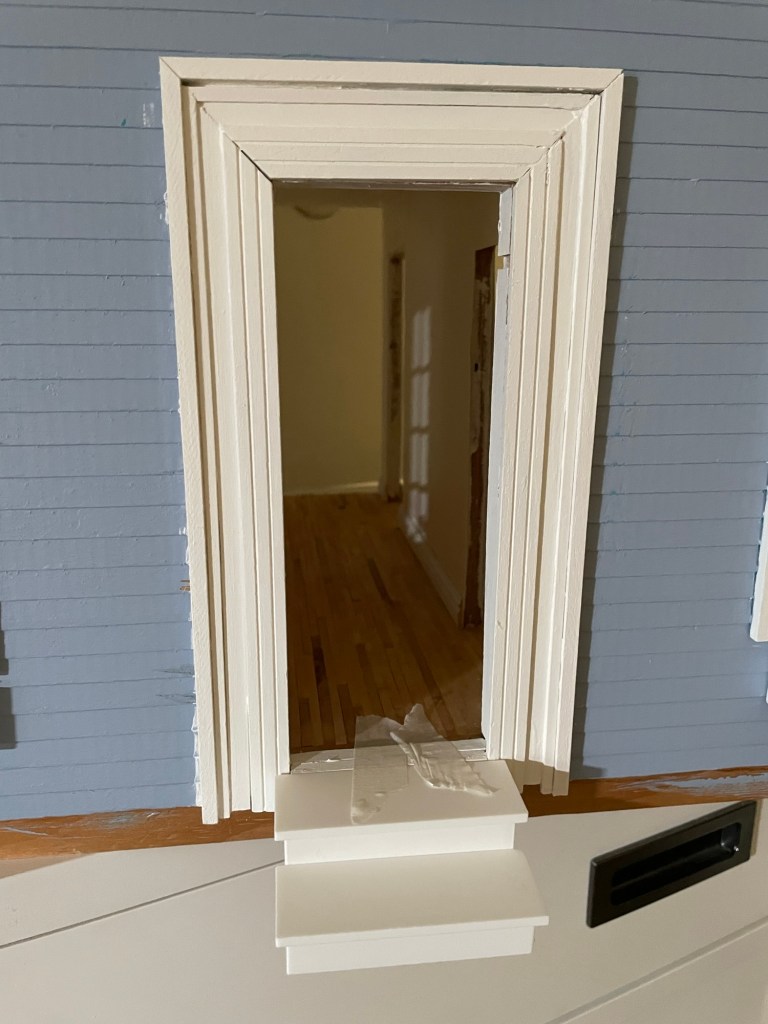
I wasn’t a big fan of the federal trim around the front door, so I pulled that off with a small pry bar from Home Depot (something like this link). I created a new combination of trim from pieces I picked up when miniatures.com was going out of business. (Fortunately, the site was acquired by miniaturecrush, so you can still purchase these trim places here.)

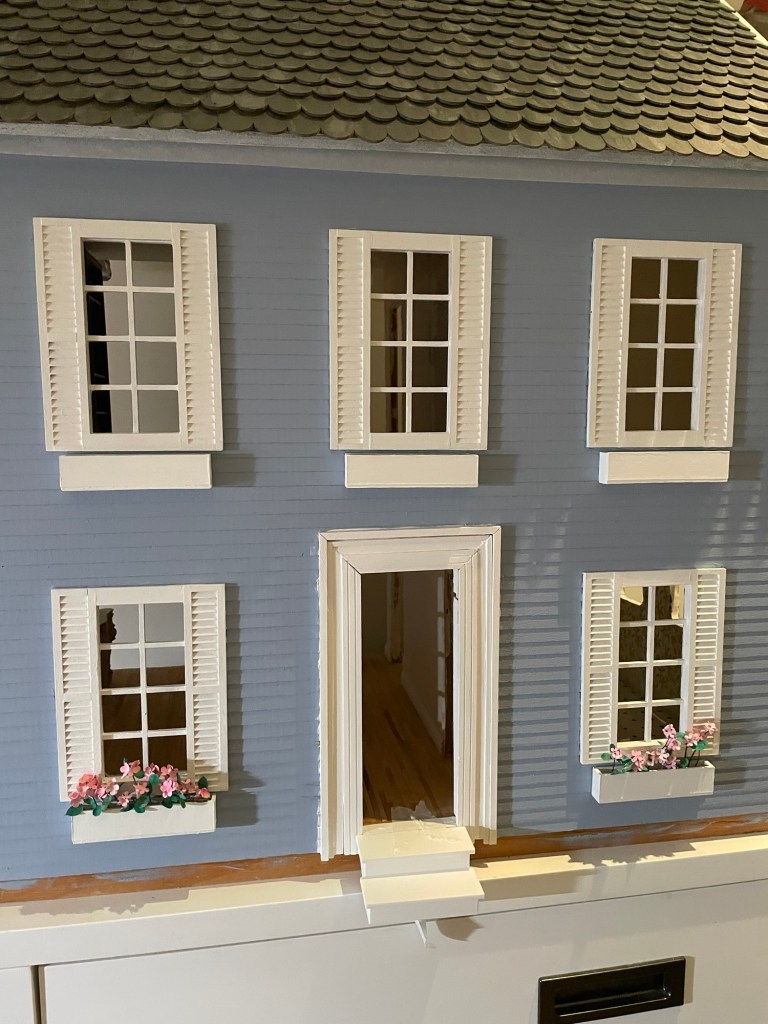
I like the white of the window frames and shutters, so I touched them up with white paint.
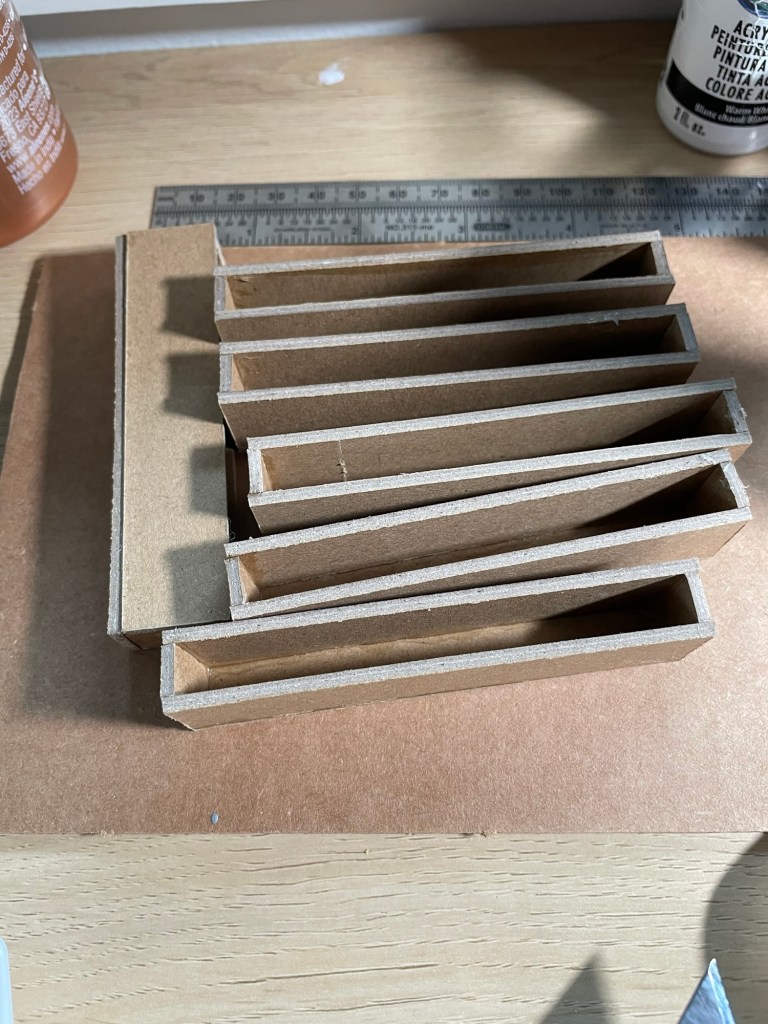
Next, it was time for window boxes, one of my favorite parts of any dollhouse. I cut the pieces out of 2 mm chipboard on my Cricut maker. I glued the pieces together, let dry overnight, and then painted them in the same white that I used on the house trim.
I mounted them under the windows and filled with tiny pink flowers. I like to use alcohol markers in different shades to give the petals and leaves a natural variation.

I printed the two steps up to the front door from these files (link). (I cannot say enough nice things about Gary Lavarack’s designs on thingiverse. He is a master! link.)
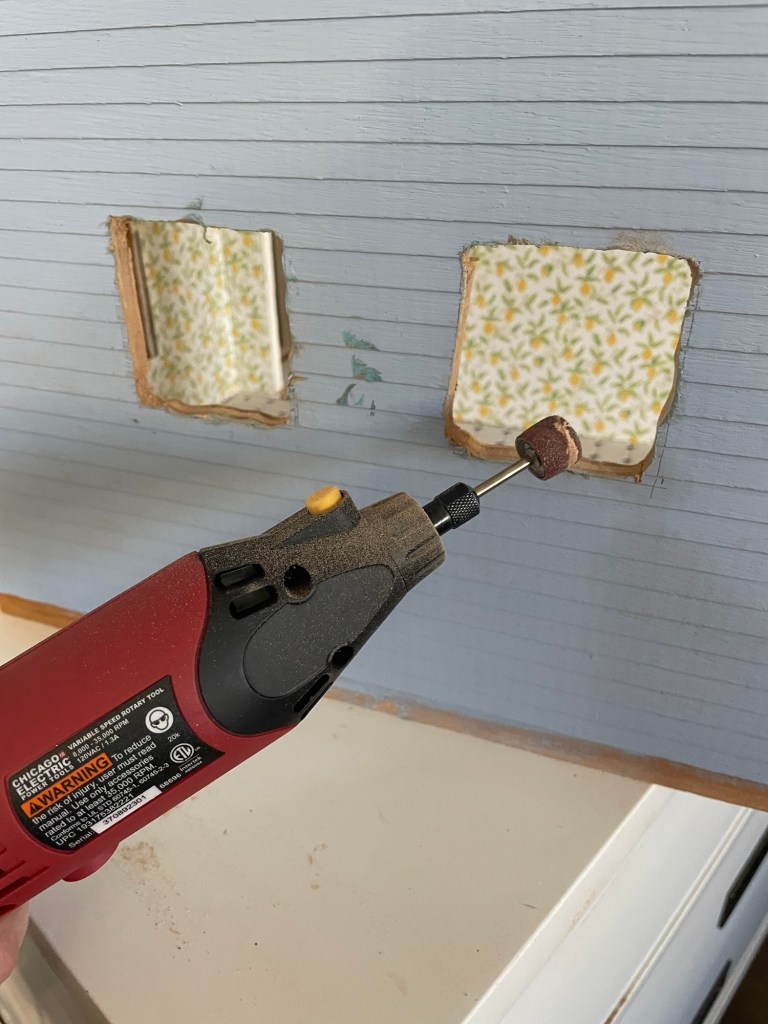
I used my rotary sander to finish shaping the holes for the kitchen windows that I added and 3d-printed window frames.
The fantastic file for the window frames is available here: link. Although I printed them in matte white, I still painted them to make sure the color matched the other exterior trim on the house.

Thrilled with how Luna’s house is coming together this Fall!

Leave a comment